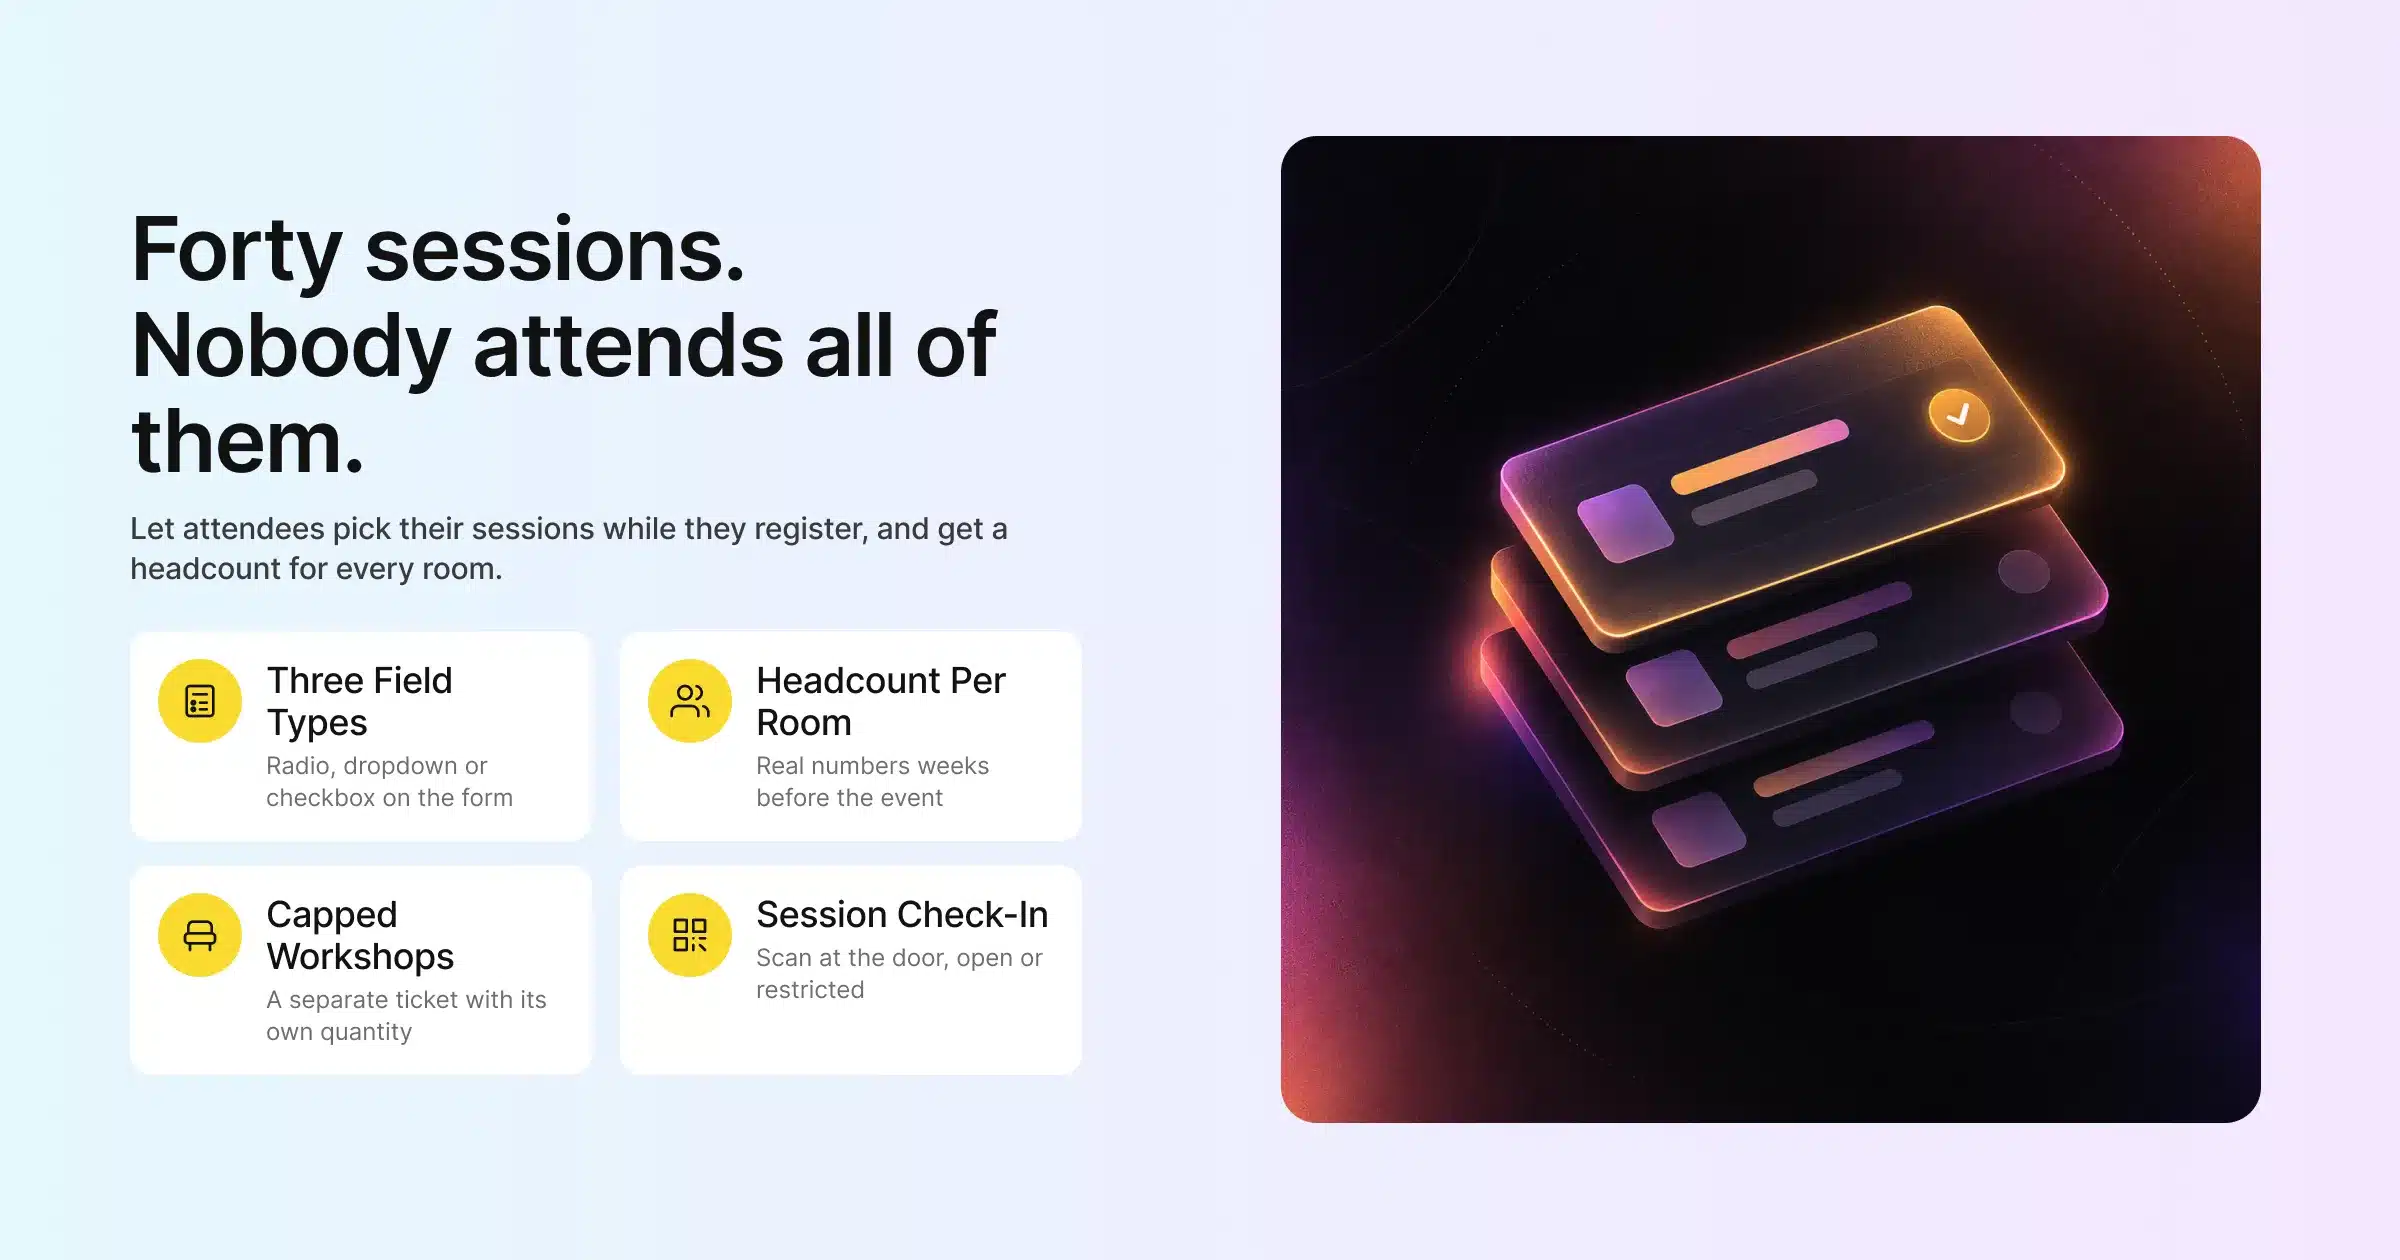
A two-day conference with four parallel tracks can have 40 or more sessions. No attendee goes to all of them. Some come for one keynote and two workshops. Others spend both days in a single track. If your registration form asks only for name, company and ticket type, you find out who is going where only when people are already queuing outside a room that is too small.
Session selection at registration fixes that. It means asking attendees to choose the sessions, workshops or tracks they plan to attend as part of signing up, so each person leaves registration with a personal agenda and you leave with real numbers for every room. It is sometimes called event session registration or breakout registration, and it matters most for conferences, summits, training days and any event with concurrent sessions.
This guide covers what session selection involves, why it helps both attendees and organisers, the common formats, how to set it up in Gevme, how to handle limited-capacity workshops, how the agenda carries through to your event website and onsite check-in, and how to use the session data before, during and after the event.
Key Takeaways
Asking attendees to pick sessions during registration gives you headcounts per room weeks before the event, so you can plan seating, catering and staff with confidence.
In Gevme Registration, sessions are built as radio button, dropdown or checkbox fields on the registration form, and those same fields power session check-in on the day.
Use radio buttons or dropdowns when attendees must pick one session per time slot, and checkboxes when they can pick several sessions from a list.
Show session questions only to the ticket types that can attend them, so a one-day pass holder never sees day-two workshops.
For workshops with a hard seat limit, sell them as a separate ticket with its own quantity, so the cap is enforced and a waiting list can take over when it fills.
Session check-in can be restricted to attendees who registered for that session, and check-in and check-out times appear in the attendee grid after the event.
Session choices make better emails, better room allocation and better post-event reports, so plan how you’ll use the data before you build the form.
What Session Selection at Registration Means
Session selection at registration is a step in the sign-up form where attendees choose which parts of the programme they plan to attend. That can be a single choice per time slot (“Which breakout will you join at 2pm?”), several choices from a list (“Tick the workshops you’d like to attend”), or a choice of days (“Which days are you attending?”).
The result is a personal agenda for each attendee, captured in their registration record. For you, it becomes a live count of interest in every session.
This is different from an agenda that attendees browse on your event website. A browsable agenda lets people see what’s on and bookmark sessions. Session selection at registration captures a commitment, tied to their attendee record, which you can report on, email against and check at the door. Most well-run conferences use both.
Why Let Attendees Build Their Own Agenda
Session selection takes some extra planning, but it pays back in several places.
You Can Size Rooms Before the Event
Guessing which session will be popular is how you end up with 200 people outside a 60-seat room and a half-empty ballroom next door. Session choices give you real numbers early enough to swap rooms, add a repeat session or move a popular talk to the main stage.
Catering, Materials and Staff Follow the Numbers
Workshops often need printed materials, equipment or extra facilitators. When you know that 45 people chose the hands-on workshop, you prepare for 45 and stop guessing. The same goes for lunch in breakout areas and room hosts for busy sessions.
Attendees Get a More Relevant Event
Choosing sessions forces attendees to read the programme properly. That alone increases the chance they turn up to the sessions that matter to them. It also gives them a reason to register early, when their preferred workshops still have seats.
Speakers and Sponsors Get Better Information
Speakers like to know how many people signed up and what roles they hold. Sponsors of a session or track want to know who chose it. Session choices tied to attendee records give you both.
Your Post-Event Report Gets Sharper
Comparing who chose a session with who checked in tells you which topics people wanted and which ones they really showed up for. That’s useful when you build next year’s programme.
Common Session Selection Formats
Pick the format that matches how your programme is built. Many events use more than one.
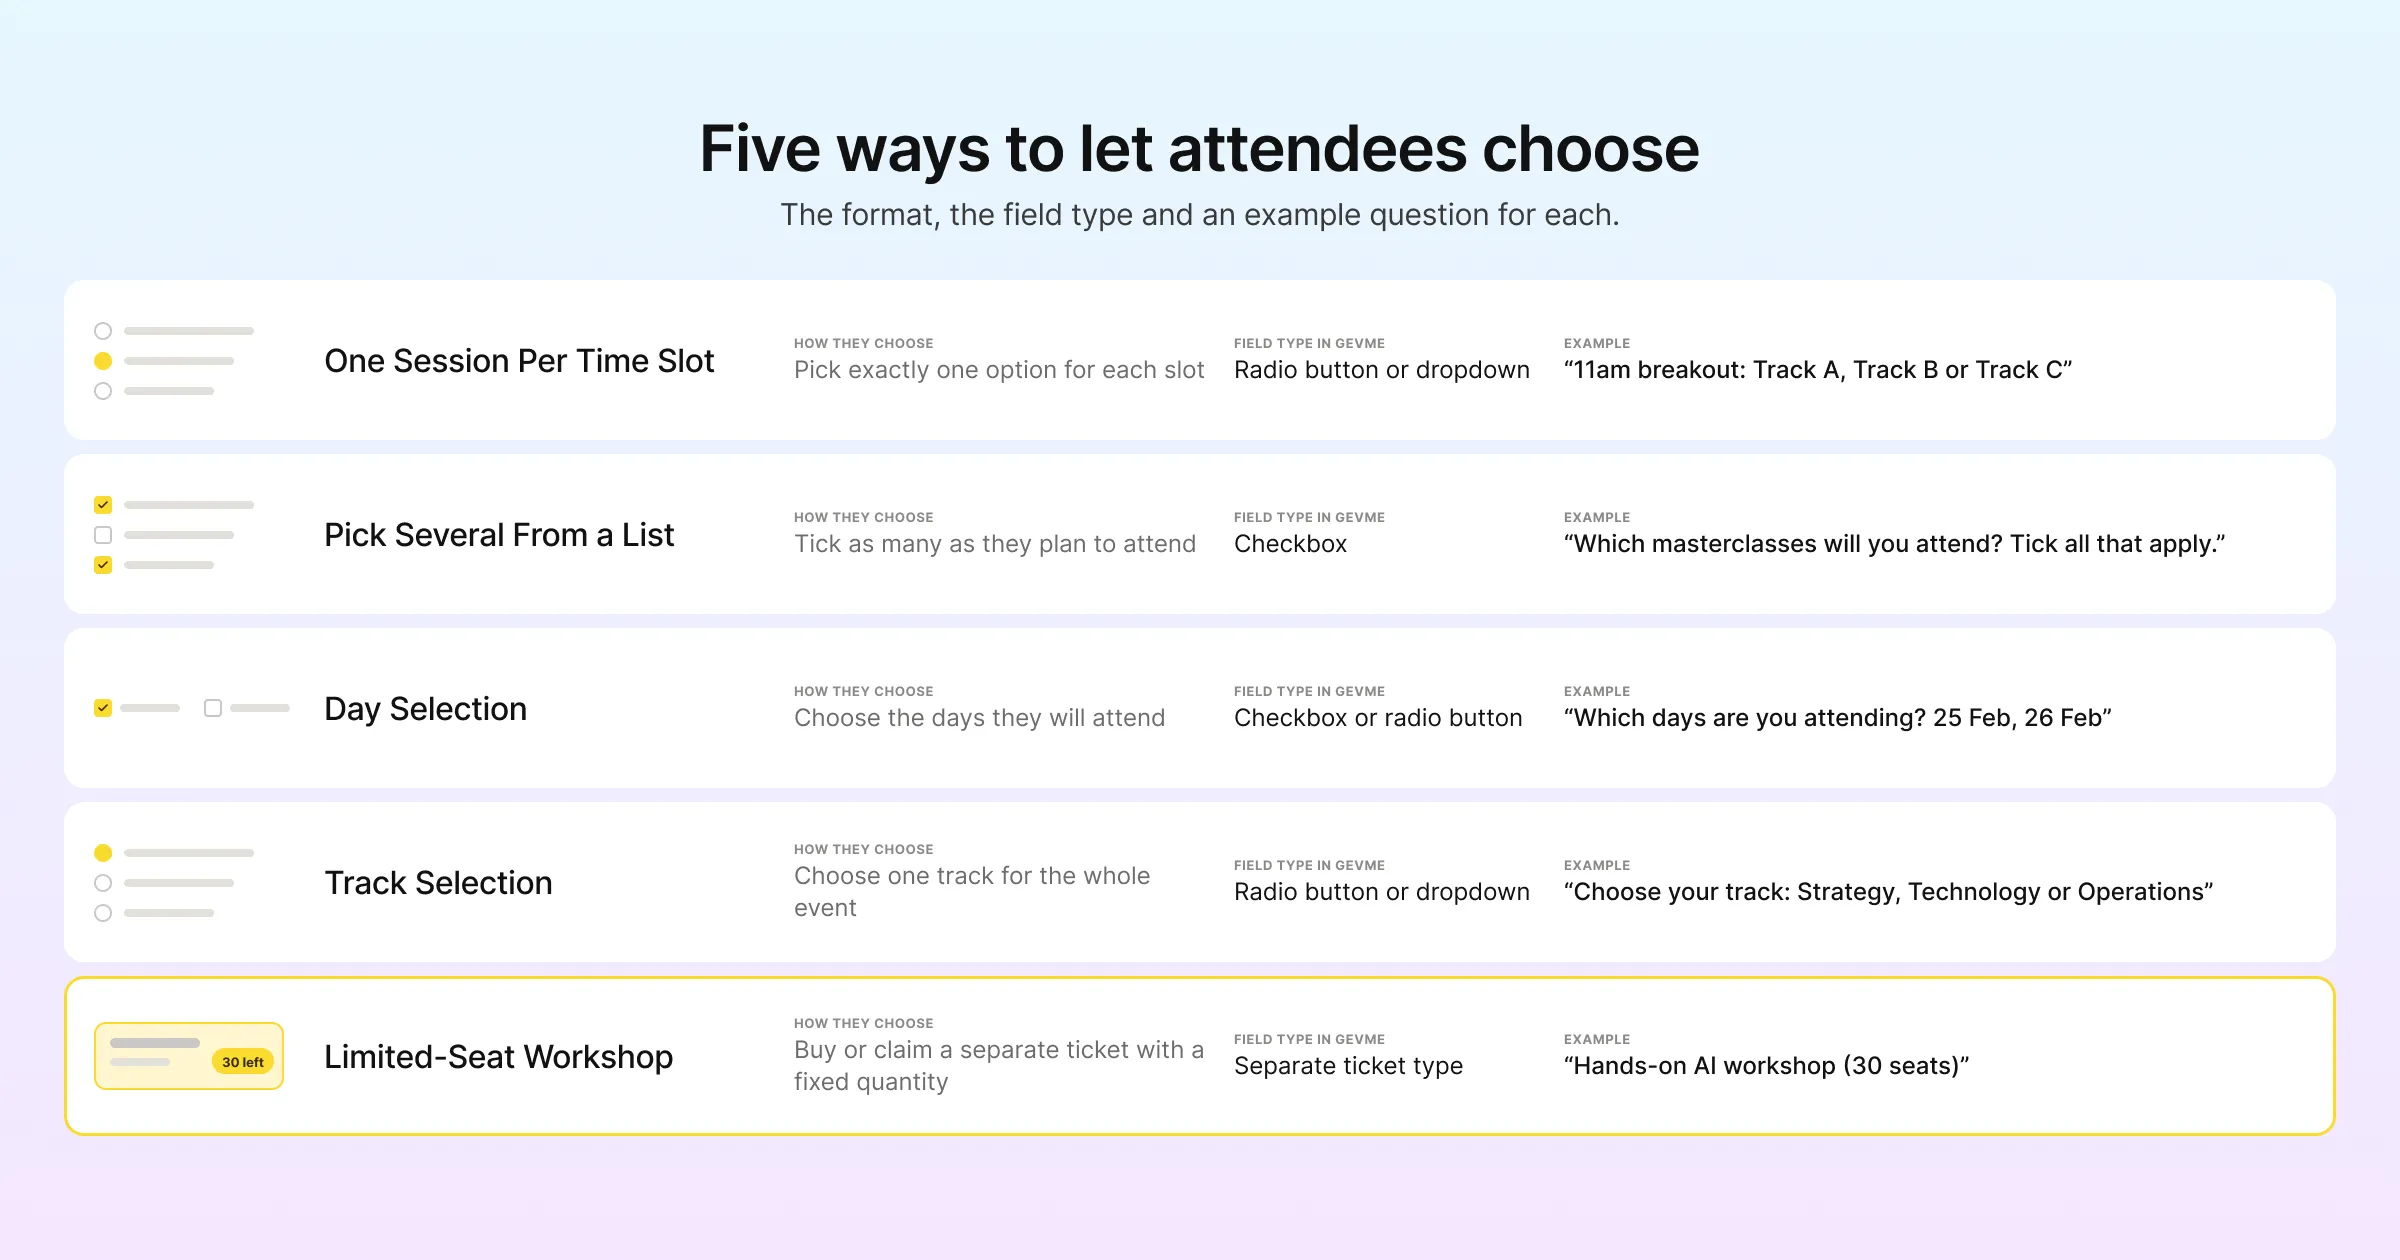
| Format | How attendees choose | Best field type in Gevme | Example |
|---|---|---|---|
| One session per time slot | Pick exactly one option for each slot | Radio button or dropdown | “11am breakout: Track A, Track B or Track C” |
| Pick several from a list | Tick as many as they plan to attend | Checkbox | “Which masterclasses will you attend? Tick all that apply.” |
| Day selection | Choose the days they will attend | Checkbox or radio button | “Which days are you attending? 25 Feb, 26 Feb” |
| Track selection | Choose one track for the whole event | Radio button or dropdown | “Choose your track: Strategy, Technology or Operations” |
| Limited-seat workshop | Buy or claim a separate ticket with a fixed quantity | Separate ticket type | “Hands-on AI workshop (30 seats)” |
A time-slot structure works best when parallel sessions run at fixed times. A pick-several list works when sessions are spread across the day with few clashes. Track selection suits events where people should stay with one theme.
How Session Selection Works in Gevme
Gevme handles session selection inside Gevme Registration’s form builder, then connects those choices to your agenda, emails and onsite check-in.
Sessions Are Fields on the Registration Form
In Gevme, only three field types can become sessions: radio button, dropdown and checkbox. You build a session question as a customised field on the Attendee Form, with each option representing a session. For example, a field named “Days you are attending?” can have the options 25-02-2025 and 26-02-2025.
For radio buttons, checkboxes and dropdowns, the text attendees see can differ from the value saved in your data, using a pipe (|) separator. That means attendees can see a friendly label such as “Workshop B: Building Better Event Surveys (Room 3, 2pm)”, while your reports store a short code such as “WS-B”. Short codes make filtering, exporting and check-in much easier.
Mark a session field as compulsory if every attendee must choose, and use the “Instructions to user” setting to explain the rules (“Choose one session per time slot. You can change your choice by contacting us before 10 March.”).
Show Sessions Only to the Right Ticket Types
Field visibility in Gevme can be set per ticket type, so a field only shows for the tickets you select. Use this to keep the form relevant:
A day-two workshop question only shows for full-pass holders.
A VIP roundtable question only shows for the VIP ticket.
A student track question only shows for student passes.
This keeps the form shorter for each person and stops people from choosing sessions they aren’t allowed to attend.
Ask Follow-Up Questions Only When They Apply
Gevme’s form logic supports conditional follow-up questions, so extra fields appear only when an earlier answer needs them. If someone chooses a hands-on technical workshop, you can show a follow-up asking which software they use. If they choose a site visit, you can ask for their transport preference. Everyone else never sees those questions.
Handling Workshops With a Hard Seat Limit
Some sessions have a fixed number of seats: a lab with 30 workstations, a masterclass capped by the trainer, a site visit limited by bus size. For these, a separate ticket type is the most reliable approach.
Each Gevme ticket has its own quantity, sales dates and visibility settings, and the event capacity sits above them all. Create a ticket for the limited workshop, set its quantity to the number of seats, and let attendees add it to their order. When the quantity runs out, the ticket closes. Switch on the waiting list for that ticket and people can join a queue, with you releasing spots as others drop out. The ticket can be free or paid, which also gives you a clean way to charge for premium workshops.
Your Agenda on the Event Website
Registration captures what people commit to. Your event website is where they explore the full programme. In Gevme Omnichannel, you build the agenda and speaker list in the Agenda module, then display it on any page with the Agenda block.
The Agenda block can show session titles, descriptions, speakers and sponsor logos, and attendees can bookmark sessions, add them to Google Calendar or Office 365, and join virtual sessions directly with a Join button. Large programmes can be loaded by uploading a preformatted file through the Agenda module, and organisers can search sessions by title, description, tags, speaker name, job title or company. New confirmed registrations sync from Gevme Registration into Omnichannel in real time, so the attendee list behind your event site stays current as people sign up.
The Gevme mobile event app carries the agenda and speaker lists too, so attendees have the programme in their pocket on the day.
Session Check-In on the Day
Here is where session selection pays off onsite. In the Onsite tab of Gevme Registration, you turn on “Session check-in” and select the session field you built on the registration form. For each session, you can add a description and choose one of two access levels:
Allow all attendees to check in for this session.
Restrict check-in to session-registered attendees only.
Staff choose the session from a dropdown, then scan QR codes or search for attendees by name. The same attendee can check into several sessions over the day as staff switch the selected session. After the event, you can show session columns in the attendee grid and see each person’s check-in and check-out times. The Gevme knowledge base has a step-by-step session check-in guide if you want the exact setup.
GovInsider Festival of Innovation 2025 used Gevme for 1,200+ attendees with self-check-in kiosks and session tracking, alongside Snapsight session summaries.
Planning Your Session Selection Form, Step by Step
Here’s a practical order of work that avoids rebuilding the form halfway through.
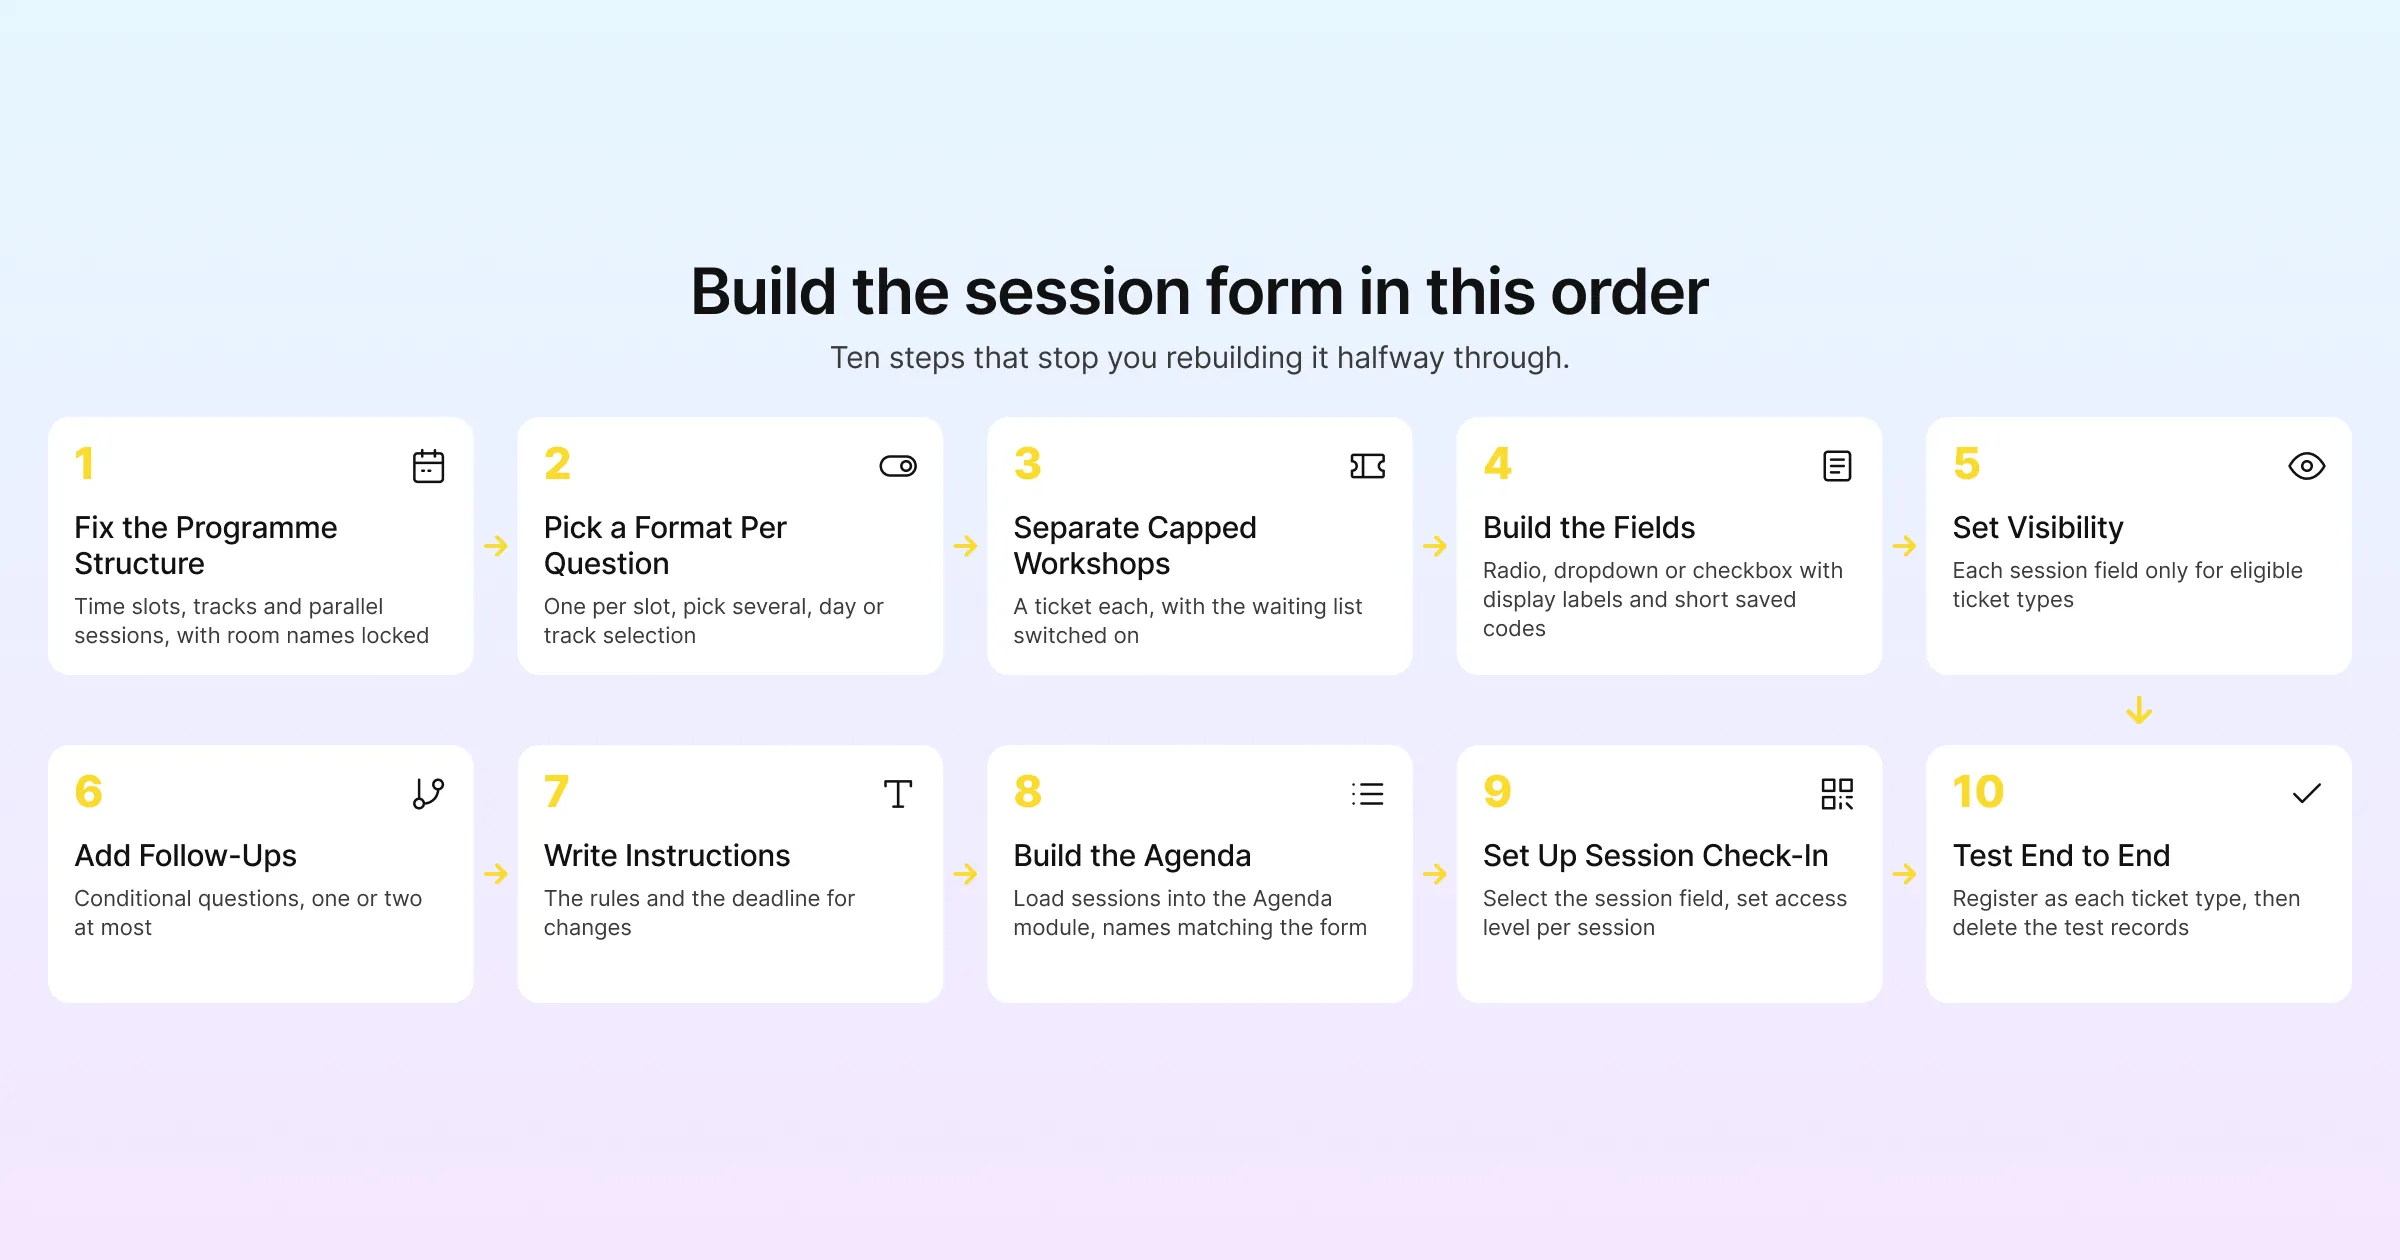
| Step | What to do | Tip |
|---|---|---|
| 1. Fix the programme structure | Decide time slots, tracks and which sessions run in parallel | Lock room names and times first, since they appear in option labels |
| 2. Pick a format per question | One per slot, pick several, day or track selection | Use one question per time slot for clashing sessions |
| 3. Separate capped workshops | Create separate tickets for anything with a hard seat limit | Turn on the waiting list for those tickets |
| 4. Build the fields | Radio, dropdown or checkbox fields with display labels and short saved codes | Use the pipe separator for clean data |
| 5. Set visibility | Show each session field only to eligible ticket types | Test each ticket type as if you were an attendee |
| 6. Add follow-ups | Conditional questions for sessions that need extra information | Keep follow-ups to one or two questions |
| 7. Write instructions | Explain the rules and how to change a choice | Add a change deadline |
| 8. Build the agenda | Load sessions into the Agenda module on your event website | Match session names exactly to the form options |
| 9. Set up session check-in | Select the session field and access level per session | Restrict only where capacity or eligibility demands it |
| 10. Test end to end | Register as each ticket type and check the data, emails and check-in | Delete test records before launch |
Using Session Data Before, During and After the Event
Session choices are more than a room count. Plan how you’ll use them.
Before the Event
Gevme lets you group attendees into static lists and smart lists, then send email campaigns to them. Use session choices to send targeted messages: pre-reading to everyone in a workshop, a reminder about equipment to the hands-on lab group, or a room change notice only to the people affected. Campaigns can be scheduled relative to the event date, and personalisation tags let you drop details from the attendee record into the email.
Check session numbers weekly as registrations come in. If one breakout is taking 70% of choices in its slot, move it to a bigger room or add a repeat session while there is still time to update the programme.
During the Event
With session check-in running, you can see live attendance by session. If a session is filling up, staff can redirect late arrivals to an overflow room or a livestream. Gevme’s hybrid setup supports physical and digital tracks from a single registration page, which is useful for sessions where demand outstrips the room.
After the Event
Compare session choices with actual check-ins. A session that 150 people chose but 60 attended tells you something different from one that 60 chose and 90 attended. Gevme’s registration reports support up to five aggregations and CSV export, so you can break attendance down by ticket type, company or job role.
Send a post-event survey to each session’s attendees using Gevme Survey, asking about the sessions they went to. For proving the wider value of the event, ImpactAIQ, part of the Gevme Event Intelligence Ecosystem, turns event impact evidence into reporting on ROI, sponsorship value and legacy outcomes.
Mistakes to Avoid With Session Selection
Too many choices at once. Forty sessions in one checkbox list overwhelms people. Break choices into time slots or days.
Programme changes after the form goes live. Renaming or moving a session after people have chosen it confuses everyone. Lock the programme before opening registration, or keep saved codes stable so only labels change.
Treating choices as fixed. People change their minds. Tell them how to update their selection and by when, and let staff update records through the Admin Form.
Restricting every session. Restricted check-in suits capped or paid sessions. For open talks, allow all attendees so nobody is turned away from a half-empty room.
Ignoring the data afterwards. The gap between chosen and attended sessions is one of the best inputs for your next programme.
A Few Terms Worth Knowing
Concurrent sessions: sessions that run at the same time in different rooms, so attendees must choose between them.
Track: a group of related sessions on one theme, often running in the same room across a day.
Breakout session: a smaller session that runs alongside or after a main session, usually more interactive.
Session check-in: scanning or searching attendees at the door of a specific session to record who attended.
Pro Tip: Use Short Saved Codes for Every Session
Give every session option a short saved code with the pipe separator, such as “D1-S3-B” for day one, slot three, breakout B, while attendees see the full session title. The same code then shows up in your exports, your smart lists and your session check-in setup. When a speaker cancels and you rename a session, you only change the label, and every report, list and check-in screen still lines up. Teams that skip this step usually end up cleaning inconsistent session names in a spreadsheet the night before the event.
Frequently Asked Questions
Event session registration is the step in the sign-up process where attendees choose the sessions, workshops, tracks or days they plan to attend. Each choice is saved to the attendee’s record, which gives organisers a headcount for every session before the event.
Attendees choose sessions through radio button, dropdown or checkbox fields on the Gevme Registration form. You build each session question in the form builder, and you can show it only to the ticket types that are eligible for those sessions.
Yes. For sessions with a hard seat limit, create a separate ticket type with its quantity set to the number of seats. When the quantity is reached the ticket closes, and you can switch on a waiting list for that ticket so people can queue for released spots.
Yes, with your team’s help. Staff can update attendee records through the Admin Form. Explain in your confirmation email how attendees can request a change and the deadline for doing so.
Turn on “Session check-in” in the Onsite tab and select your session field. Staff pick the session from a dropdown and scan QR codes or search by name. You can allow all attendees in or restrict check-in to people who registered for that session.
Yes. The Agenda block on your Gevme Omnichannel event website shows the programme with session titles, speakers and descriptions. Attendees can bookmark sessions, add them to Google Calendar or Office 365, and join virtual sessions with a Join button.
If your event has concurrent sessions or workshops with limited seats, session selection is worth it at any size. For a single-track event where everyone attends everything, it usually isn’t needed, and a simple registration form is enough.
Conclusion: Let Attendees Choose, Then Use What They Tell You
Session selection at registration gives attendees a personal agenda and gives you the numbers to plan rooms, materials and staff properly. Lock your programme structure, choose the right format for each question, sell capped workshops as separate tickets, and connect the same session fields to your event website and onsite check-in. Then use the data: target emails before the event, watch attendance live, and compare choices with check-ins afterwards.
Gevme is event management software built by the industry, for the industry, and session selection is one part of a registration flow that connects forms, tickets, agendas, check-in and reports in one place. See how it works for multi-track events on the conferences page, explore Gevme’s event registration software, or request a demo to build your first session form with the team.