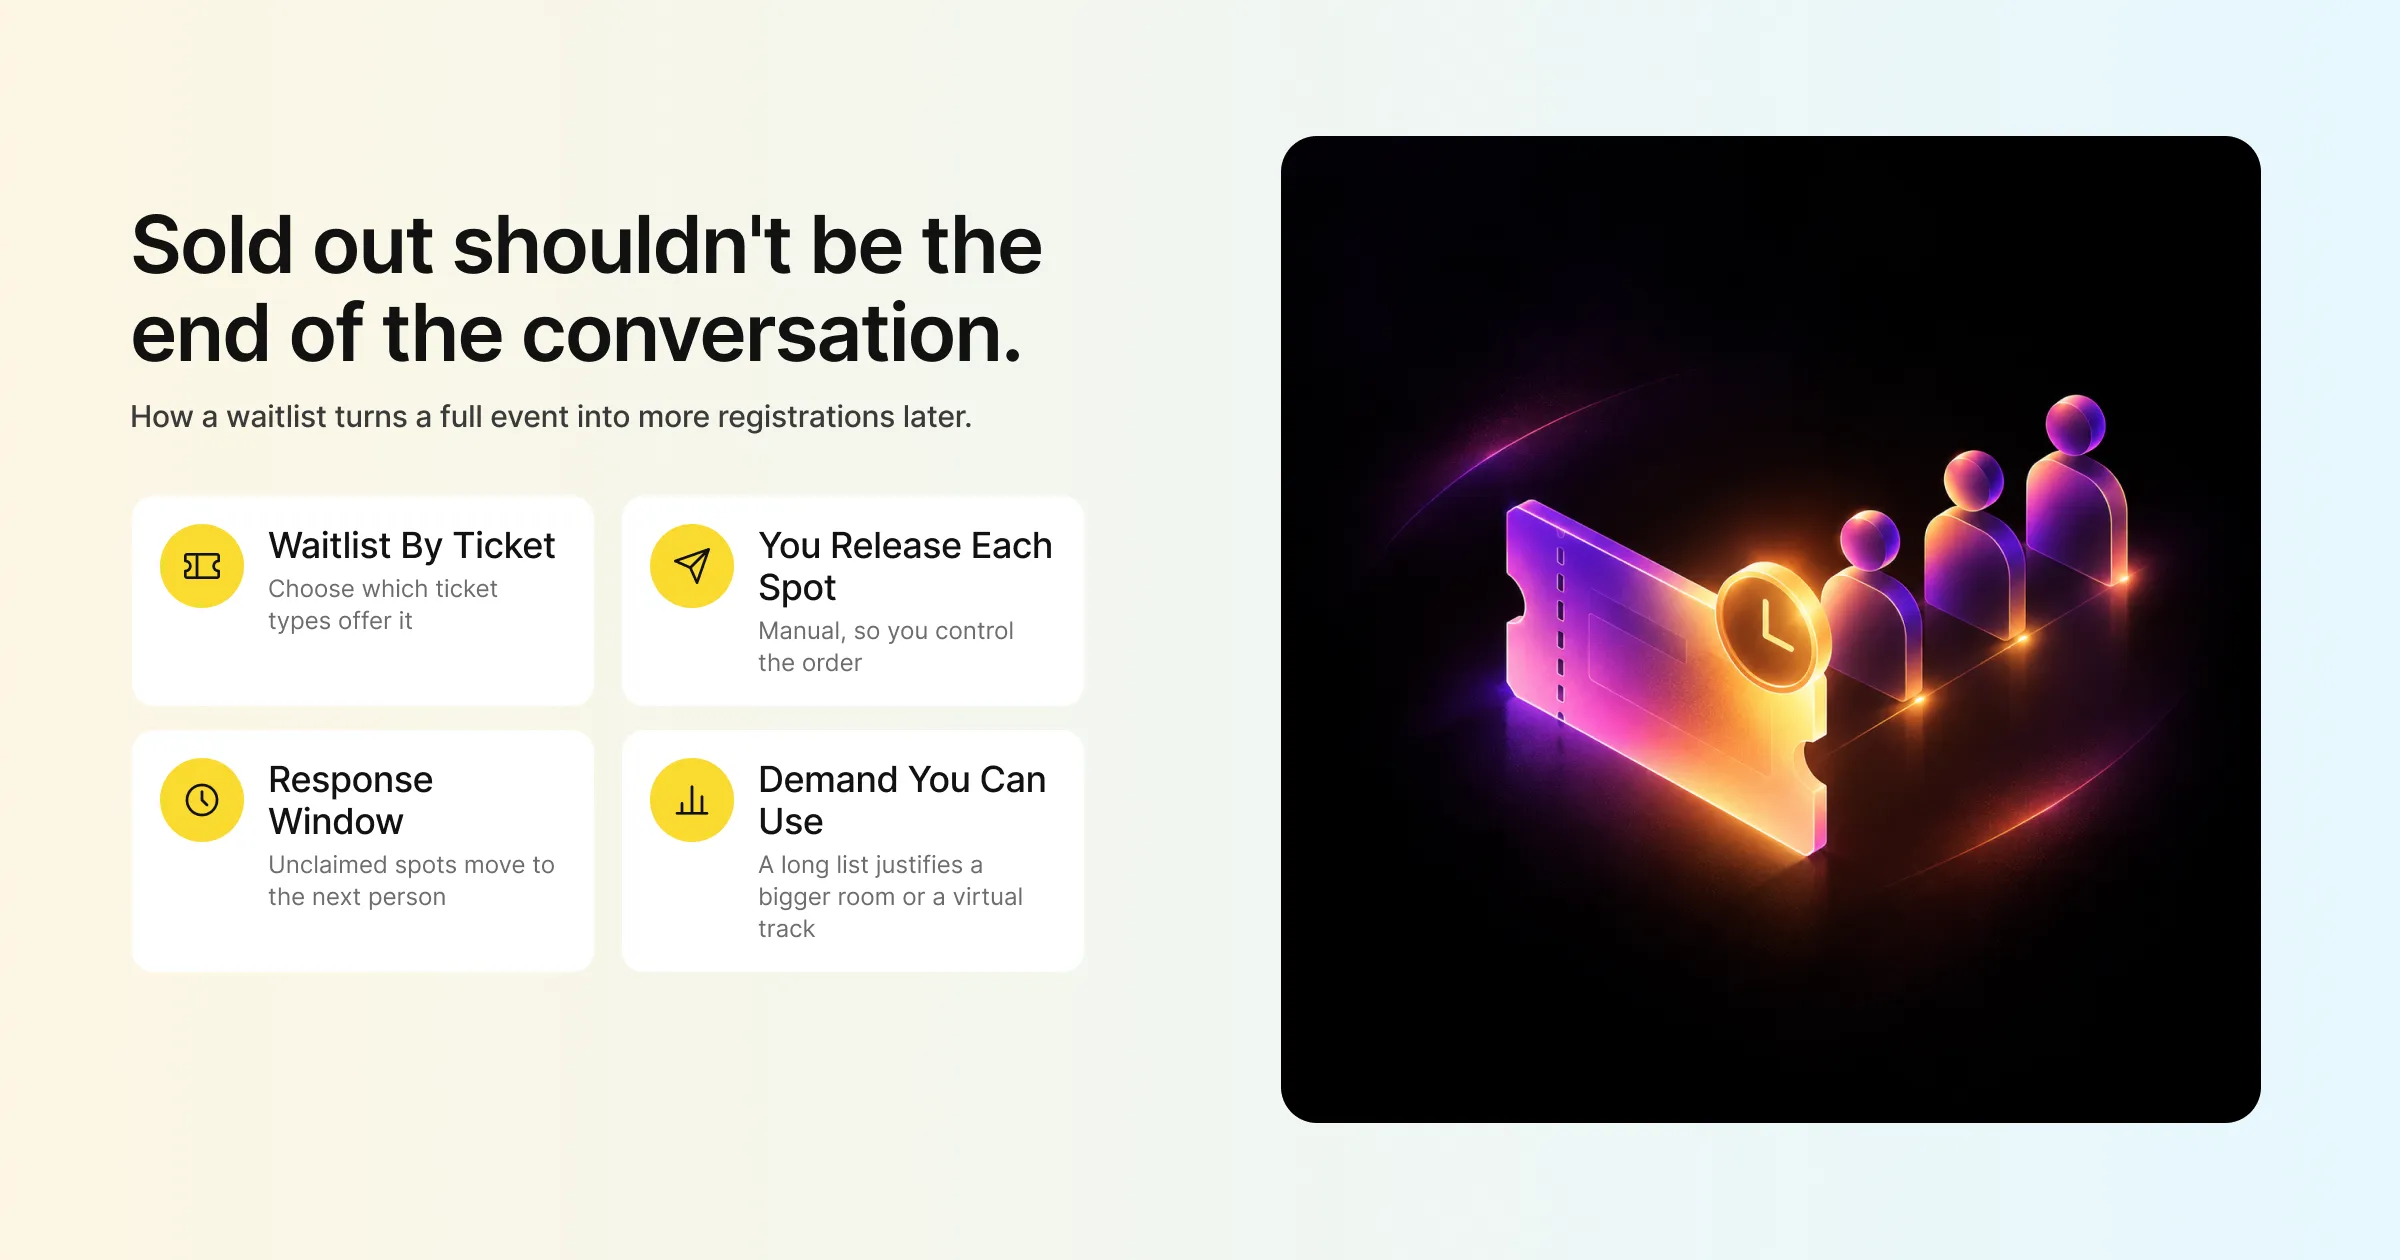
Selling out feels great for about ten minutes. Then the emails start. Someone’s manager only approved the budget today. A speaker wants to bring a colleague. A sponsor asks if there is any way to squeeze in two more guests. If your registration page just says “Sold Out”, every one of those people leaves with nothing, and you lose track of them.
Event waitlist management is the process of collecting the details of people who want to attend after tickets run out, then offering them spots in a fair, organised way as seats free up. A good waitlist turns a closed door into a queue. It also gives you something most organisers never get: a clear list of people who wanted in and could not get in.
This guide covers what event waitlist management involves, how the waitlist works from the attendee’s side, how to set one up in Gevme step by step, six ways to turn waitlist demand into registrations, the mistakes that quietly cost you sign-ups, and how to measure whether your waitlist is doing its job.
Key Takeaways
A waitlist keeps interested people in your registration system after tickets sell out, so cancellations and no-shows can be refilled from a ready list of names.
In Gevme Registration, you choose exactly which ticket types show a waiting list option, so you can keep a waitlist on your general pass while leaving VIP or speaker tickets closed.
Releasing a spot sends an automatic email with a Register button, and you can set a response window so unclaimed spots move on to the next person.
Keep the waitlist form short (name and email are already there by default) and add only the one or two questions that help you decide who gets a released spot.
A long waitlist is a demand signal: use it to justify a bigger room, a repeat session or a virtual track for a hybrid event.
People who missed out this year are some of your warmest contacts for the next edition, so plan how you will invite them back before the current event ends.
Track how many released spots get claimed and how quickly, because that number tells you whether your messages and response window are set right.
What Event Waitlist Management Involves
Event waitlist management covers four jobs: collecting names once capacity is reached, keeping those people informed, releasing spots when seats open, and making sure released spots get claimed quickly. The waitlist itself is only the list. The management part is everything you do with it.
For a small workshop, that might mean releasing three seats the week before the event. For a large conference, it can mean running several waitlists at once (one per ticket type), releasing seats in batches as cancellations arrive, and deciding whether demand is strong enough to open extra capacity.
A waitlist sits inside your event registration software, so the people on it are tied to the same event, the same forms and the same attendee records as everyone who already registered. That connection matters. When a waitlisted person registers, they become a normal attendee with a ticket, a QR code and a place in your reports, and nobody on your team has to copy details from a spreadsheet.
Why a Full Event Still Has Room to Grow
“Sold out” rarely means every seat will be filled on the day. Plans change between registration and event day, and a waitlist lets you fill those gaps before they become empty seats.
Cancellations Free Up Seats
People cancel for all sorts of reasons: travel falls through, a project deadline moves, a team sends one person instead of two. Each cancellation is a seat you can offer again. Without a waitlist, you either reopen public sales (and risk a rush of new sign-ups you can’t control) or leave the seat empty. With a waitlist, you already know who to offer it to.
Free Events Lose More People on the Day
Free events tend to see more no-shows than paid ones, because nothing is lost by skipping. Many organisers deal with this by accepting a few more registrations than the room holds. A waitlist gives you a safer option: keep capacity accurate, collect extra interest on the waitlist, and release seats as people drop out in the final days.
The Waitlist Shows You What Demand Looks Like
Your registration count stops at capacity. Your waitlist keeps counting. If 400 people registered and 250 more joined the waitlist, you now know the real interest level was about 650. That number is useful when you negotiate the next venue, pitch sponsors or decide whether a session deserves a bigger room.
Waitlisted People Are Warm Contacts
Someone who filled in a form to be told when a seat opens has already shown clear intent. Even if you can’t fit them in this time, they are prime candidates for your next edition, a follow-up webinar or an on-demand recording. The waitlist quietly builds a list of your most interested prospects.
How a Waitlist Works From the Attendee’s Side
It helps to picture the attendee’s experience before you set anything up, because every message they see is something you control.
Here is how the flow runs in Gevme Registration. When a ticket type sells out, the registration page shows an “Add to waiting list” button in place of the usual ticket selection. The person fills in the waitlist form and sees a confirmation page. A confirmation email lands in their inbox shortly after, so they know they are on the list.
If the waitlist itself fills up, the landing page shows a “waiting list is full” message that you can write yourself. When you release a spot, the person gets an email with a Register button that takes them straight to the event registration form. If you’ve set a time limit and they don’t act in time, they see a message telling them the allocated time is over.
Every one of those touchpoints (the confirmation message, confirmation email, full message, released spot email and the time-over message) can be edited. That is a lot of chances to either reassure people or confuse them, so it is worth writing each one on purpose.
Setting Up an Event Waitlist in Gevme
The waiting list is switched off by default in Gevme Registration. Turning it on takes a few minutes, and the settings below decide how smoothly it runs. The Gevme knowledge base has a full waiting list walkthrough with screenshots if you want to follow along in your account.
Step 1: Turn On the Waiting List and Pick Your Tickets
Tick “Enable Waiting List” in the waiting list settings, then choose which tickets should offer it. Only the tickets you select will show the waiting list option. If you pick just one ticket, only that ticket gets a waitlist.
This is more useful than it sounds. Say you run a conference with a general delegate pass, a student pass and a limited workshop add-on. You might want a waitlist on the delegate pass and the workshop, but not on the student pass, where you’d rather point people to next year. Choosing tickets one by one lets you do that.
Step 2: Check Your Ticket Quantities
Gevme counts waiting list records within the ticket’s quantity. The ticket quantity must always be higher than the number of registered attendees plus the number of people on the waiting list. Plan your ticket quantity with that in mind when you set up the event, so the numbers don’t block new waitlist entries later.
Also remember that event capacity overrides individual ticket quantities. If your event capacity is 500, total registrations across all ticket types can’t go past 500, whatever each ticket’s own quantity says.
Step 3: Build a Short Waitlist Form
The waitlist form comes with First Name, Last Name and Email already in place. You can add more fields, but keep it lean. Every extra field lowers the number of people who finish the form, and at this stage they don’t have a seat yet.
Add a field only if it will change who gets a released spot. Company name helps if you want to avoid giving five seats to one organisation. Job role helps if the event is aimed at a specific audience. A member number helps if members get priority.
Step 4: Write Your Messages
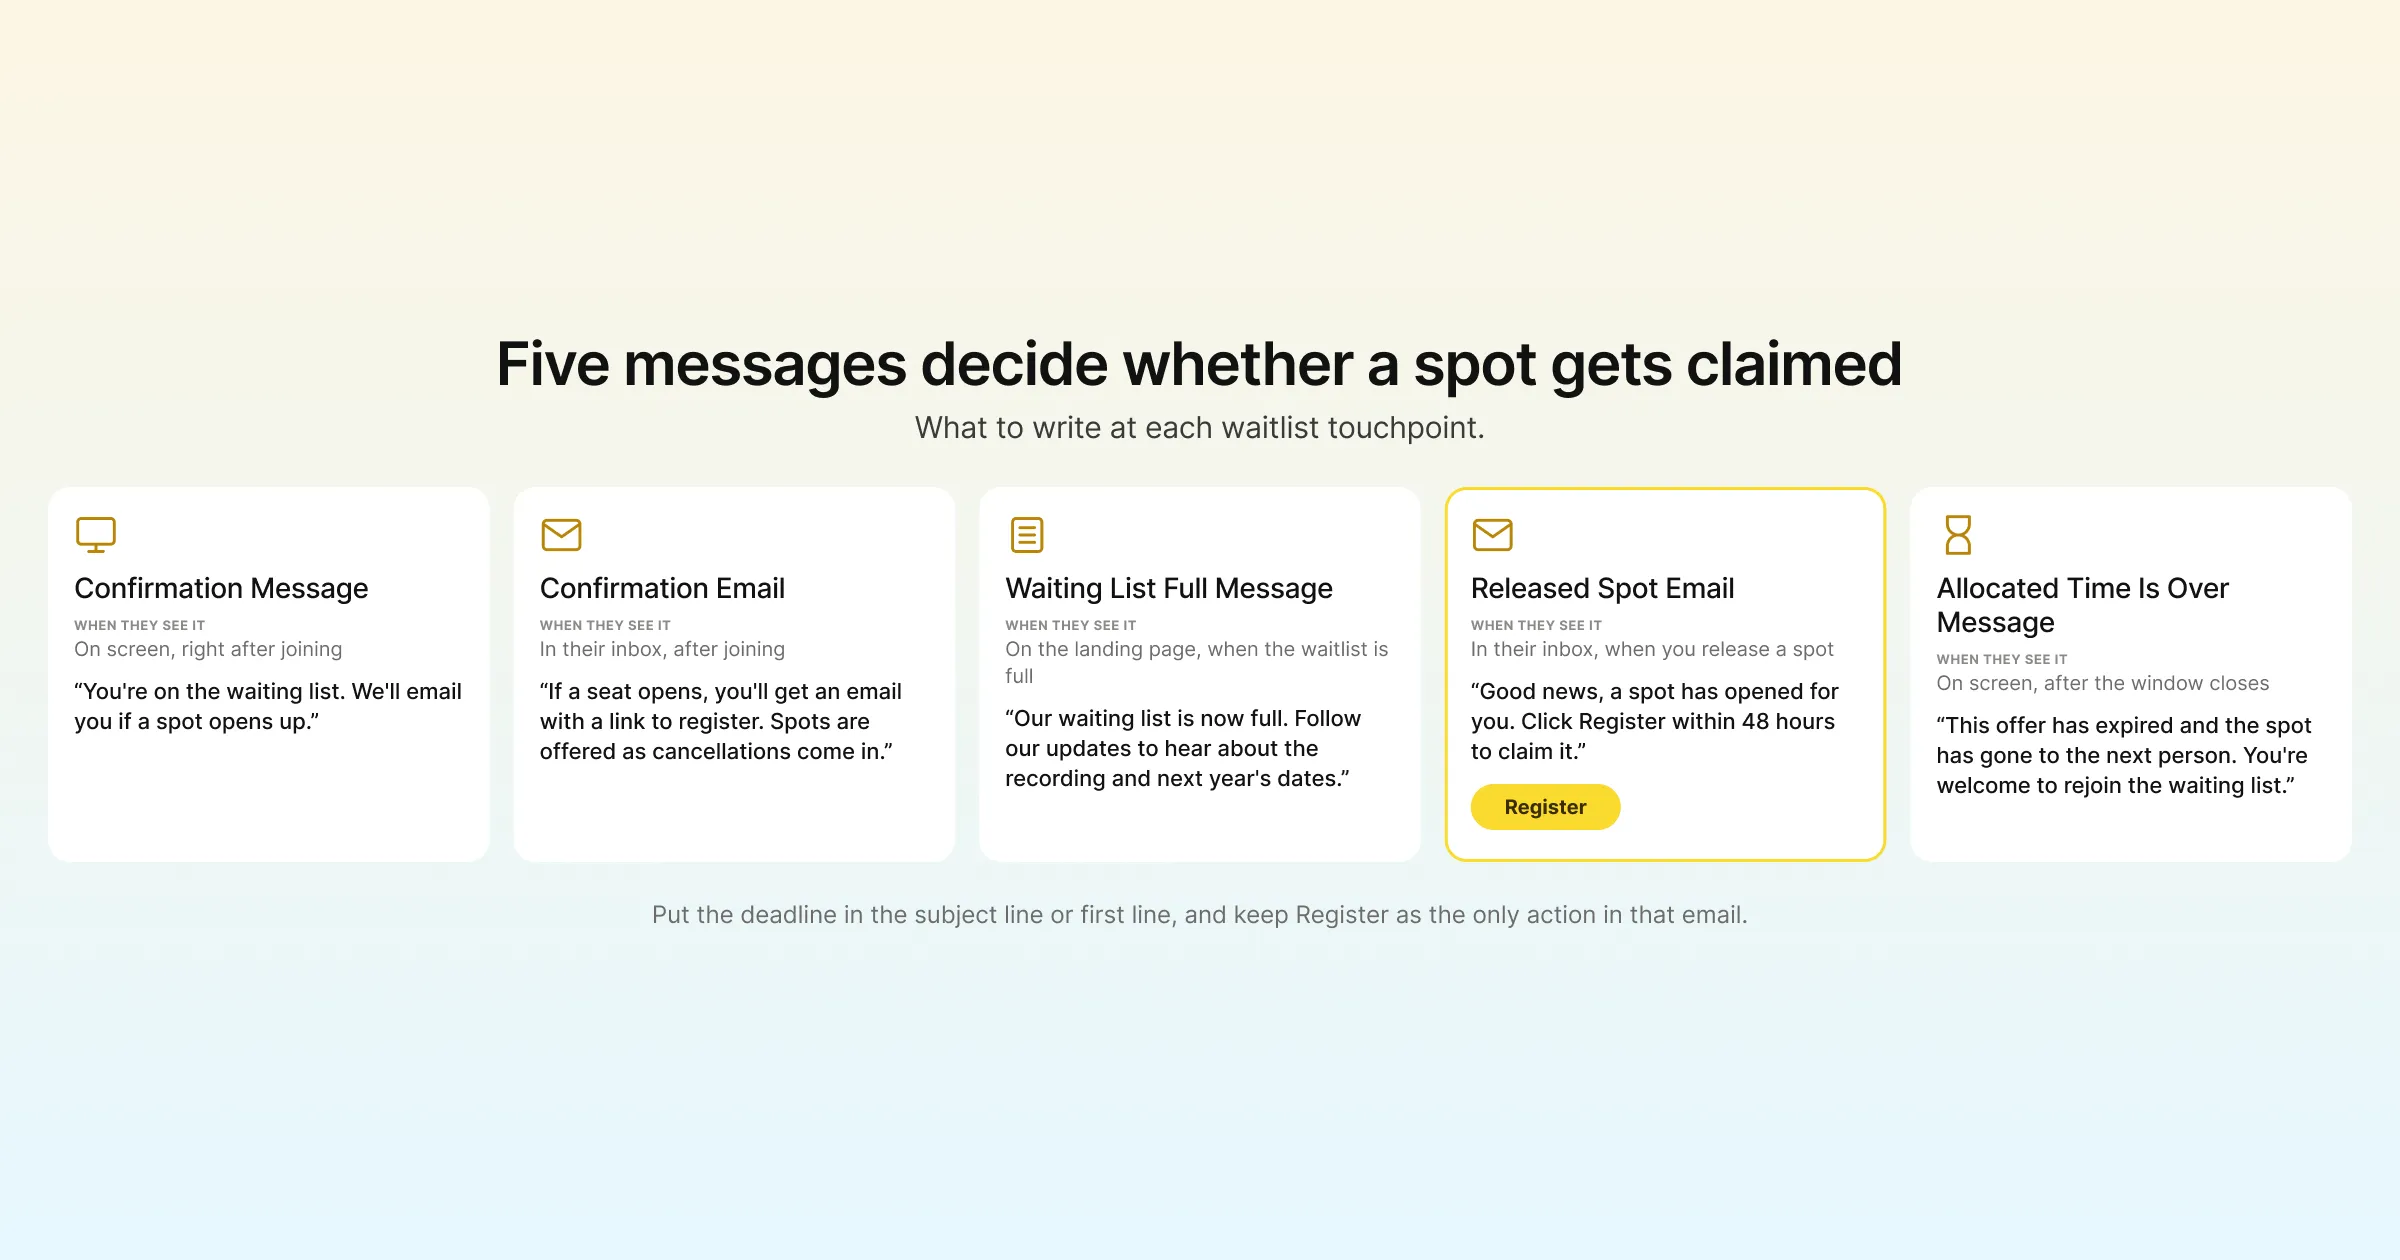
You’ll write five pieces of text: the waiting list confirmation message (shown on screen), the waiting list confirmation email, the “waiting list is full” message, the released spot email and the “allocated time is over” message. The table in the next section gives suggested wording for each.
Step 5: Set a Response Window
The “Time to respond” setting controls how long someone has to claim a released spot. Once that time passes, the spot expires and the person sees your “allocated time is over” message. Without a window, released spots can sit unclaimed for days while others wait.
Step 6: Release Spots When Seats Open
Click “Waiting List” in the left-hand navigation to see everyone on the list in a grid. Select the person you want to offer a spot to and click “Release Ticket”. Gevme sends the released spot email automatically. Releasing is a manual action, which means you stay in control of who gets each seat and when.
Waitlist Messages: What to Write for Each Touchpoint
Clear wording decides whether a released spot gets claimed in an hour or ignored. Here is a starting point you can adapt.
| Touchpoint | When people see it | What it should say | Example wording |
|---|---|---|---|
| Confirmation message | On screen, right after joining | Confirm they are on the list and what happens next | “You’re on the waiting list. We’ll email you if a spot opens up.” |
| Confirmation email | In their inbox, after joining | Repeat the next steps and set expectations on timing | “If a seat opens, you’ll get an email with a link to register. Spots are offered as cancellations come in.” |
| Waiting list full message | On the landing page, when the waitlist is full | Close the loop and point them somewhere useful | “Our waiting list is now full. Follow our updates to hear about the recording and next year’s dates.” |
| Released spot email | In their inbox, when you release a spot | Make the action obvious and state the deadline | “Good news, a spot has opened for you. Click Register within 48 hours to claim it.” |
| Allocated time is over message | On screen, after the window closes | Explain what happened without blame | “This offer has expired and the spot has gone to the next person. You’re welcome to rejoin the waiting list.” |
Two small things make a big difference here. Put the deadline in the email subject line or the first line of the released spot email, and keep the Register button as the only clear action in that email.
Six Ways to Turn Waitlist Demand Into More Registrations
A waitlist on its own refills cancelled seats. Used well, it can do a lot more. These are the moves that turn a full event into extra registrations, some this year and some next.
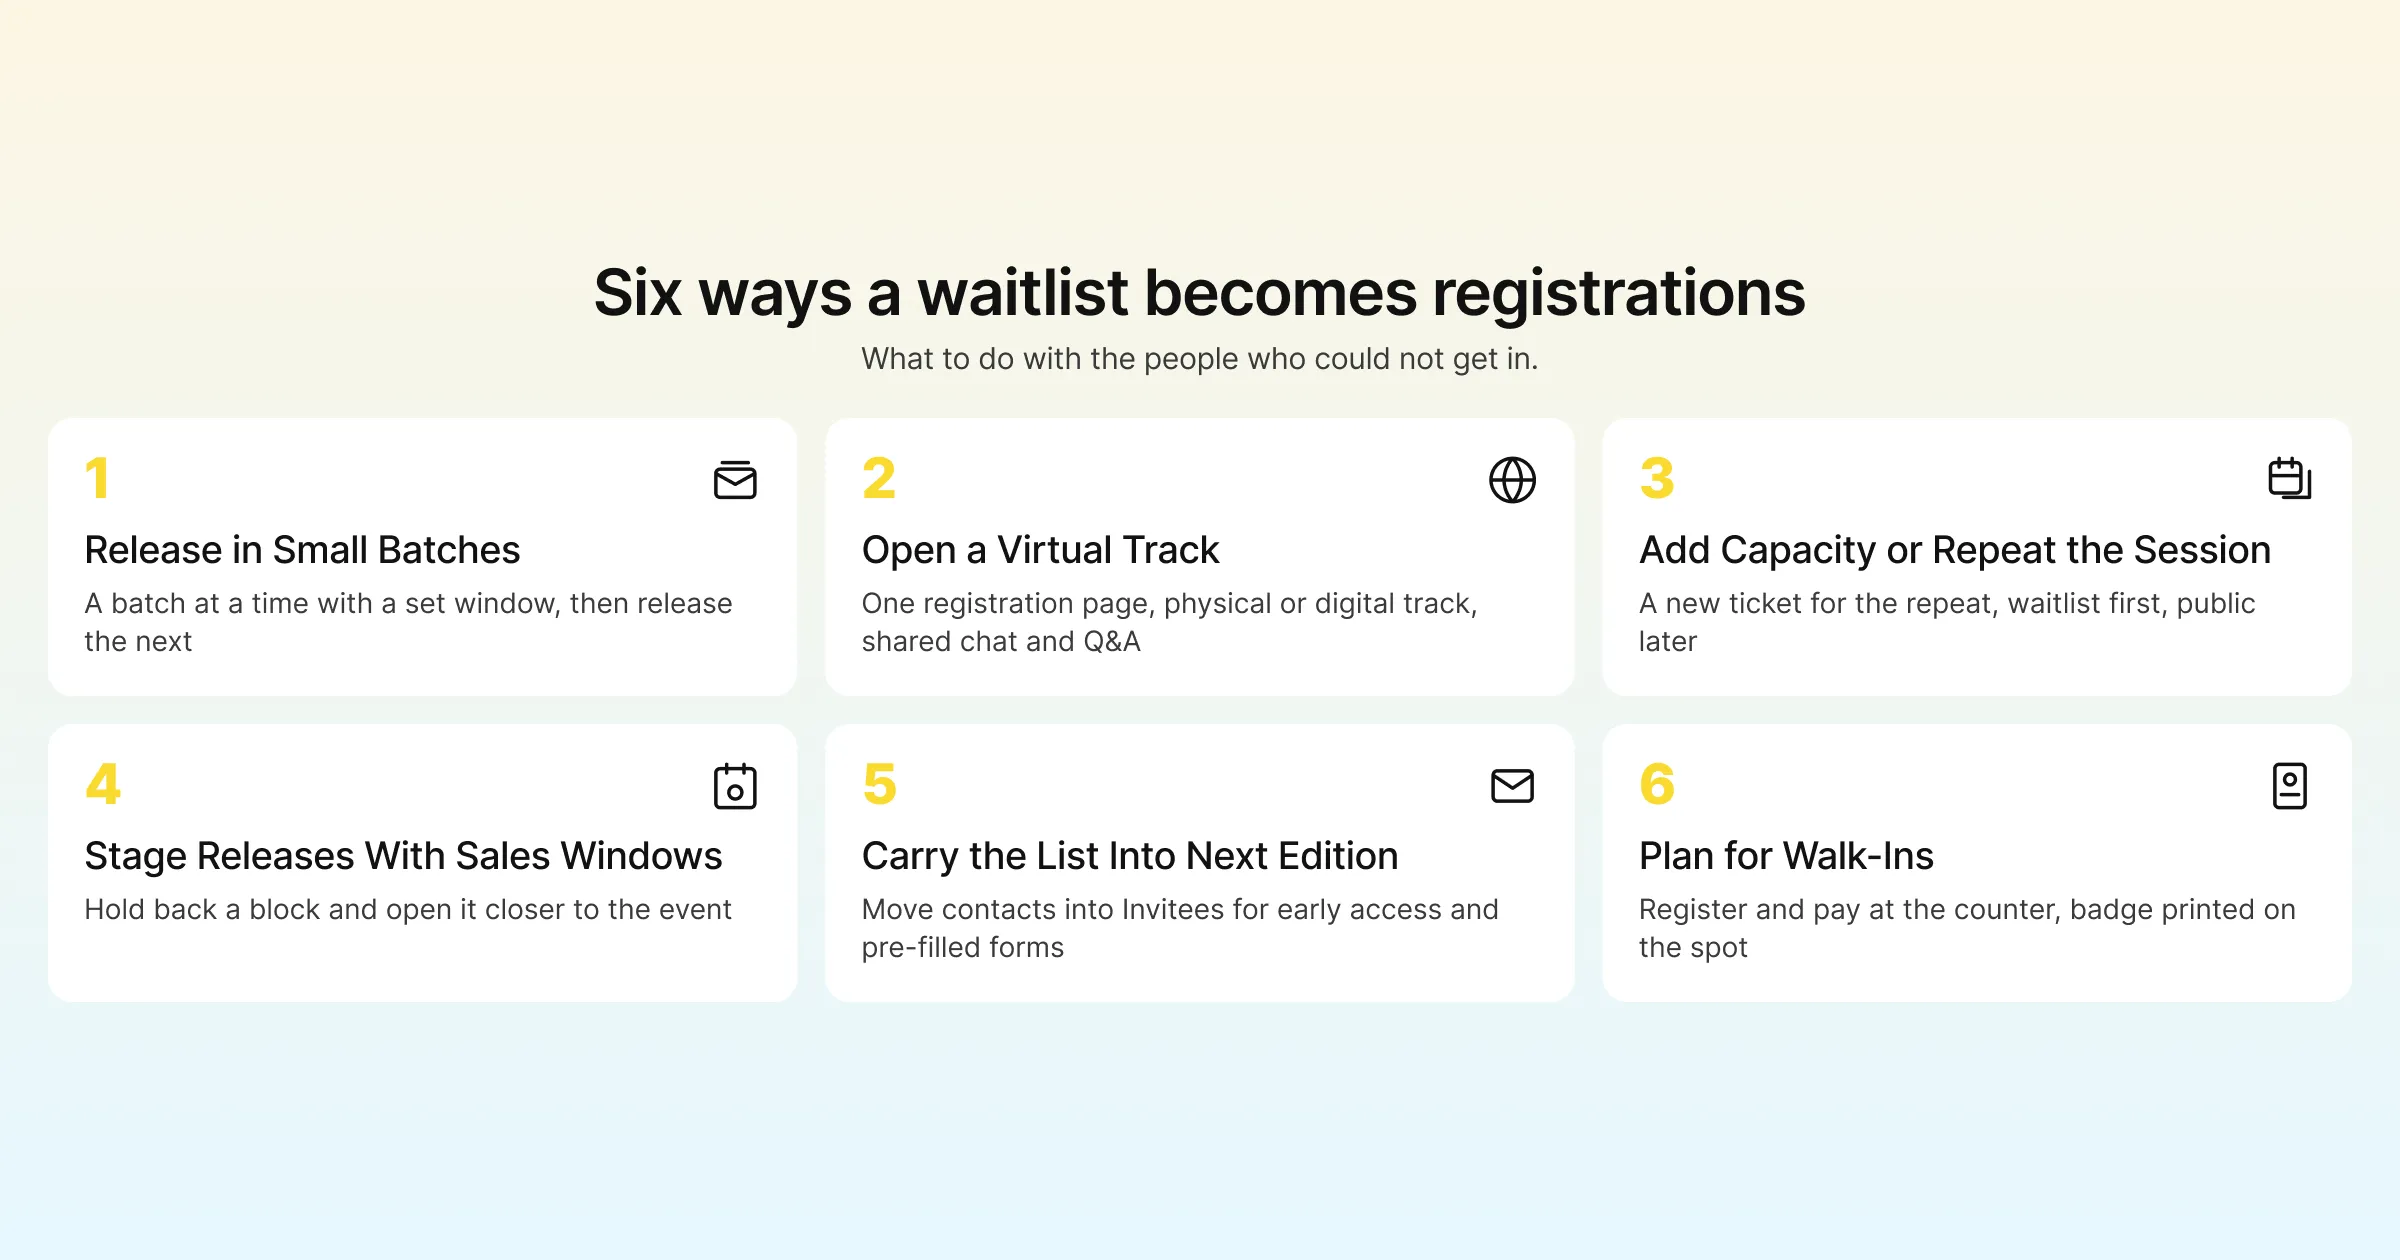
1. Release Spots in Small Batches
Releasing ten spots at once to ten people with a 48 hour window works. Releasing thirty spots at once to thirty people often doesn’t, because a share of them won’t respond and you lose days waiting. Smaller, more frequent releases keep things moving. Release a batch, see who claims, then release the next batch as windows expire.
Since releasing is manual, you also decide the order. First come, first served is the fairest default. You can also prioritise members, returning attendees or people from companies with no one registered yet, as long as you say so in your confirmation email.
2. Open a Virtual Track for People Who Can’t Fit in the Room
Room capacity limits in-person seats. It does not limit online viewers. If your waitlist is long, adding a virtual track turns an in-person event into a hybrid event and gives waitlisted people something to register for right away.
In Gevme, a hybrid event runs on a single registration page with a physical or digital track, and each ticket carries the right details: venue check-in for in-person attendees, login details for online ones. Both groups share the same chat, Q&A and polls, so remote attendees still feel part of the room. The NUS Postgraduate Fair 2024 ran this way with 1,077 attendees across in-person and dual livestreamed tracks.
3. Add Capacity or a Repeat Session
If a single session or workshop has a long waitlist, the simplest fix may be to run it twice. Create a new ticket for the repeat session, email the people on that waitlist first, and open it to the public later. Because you know roughly how many people are waiting, you can size the second session with some confidence.
The same logic applies to the venue. A waitlist of 300 is a strong argument for moving to a bigger hall, and it gives you real numbers to take to the venue and your budget holders.
4. Use Sales Windows to Stage Releases
Gevme tickets have “Open sales on” and “Close sales on” dates, plus visibility settings that can hide tickets until they go on sale. You can use these to hold back a small block of seats and release them as a separate ticket closer to the event, when you have a clearer view of cancellations. Let your waitlisted people know first, and the public sees the ticket only when it opens.
5. Carry the List Into Your Next Edition
This is where most organisers lose value. After the event, the waitlist often gets forgotten. Treat it as your first invitation list for the next edition instead.
Move those contacts into the Invitees module of your next event. Invitees are the people you plan to invite, and when someone registers through the invitation button, Gevme links their invitee record to their attendee record. Returning invitees can also get pre-filled forms, which cuts the time it takes them to register. An email campaign that opens with “You missed out last time, so here’s early access” tends to get attention from people who already wanted to come.
6. Plan for Walk-Ins on the Day
Some waitlisted people will simply turn up, hoping for a no-show seat. Plan for them before the day. Gevme’s onsite check-in supports walk-in registration and payment at the counter, so if you know seats are free once the session starts, staff can register walk-ins on the spot and print their badge in the same visit.
Common Waitlist Mistakes That Cost Registrations
Most waitlist problems come from a few habits that are easy to fix once you spot them.
No Response Window
Without a deadline, released spots can sit unclaimed until the week of the event. By then the next person in line may have made other plans. Always set a time to respond, and match it to how close you are to the event: a longer window a month out, a shorter one in the final week.
Too Many Questions on the Waitlist Form
A waitlist form that looks like a full registration form puts people off. They haven’t got a seat yet, so they are less willing to share details. Keep it to what you need to decide who gets the next spot.
Silence Between Joining and Release
If someone joins the waitlist and hears nothing for three weeks, they assume the answer is no. A short update (“We’re still expecting cancellations closer to the date”) keeps them interested. You can also mention a virtual option or a recording if you have one.
Releasing Too Late
Cancellations tend to pile up in the last two weeks. If you wait until the final days to release spots, people have less time to arrange travel or clear their calendar. Release as soon as seats free up.
Forgetting the Waitlist After the Event
The list of people who wanted in is one of the most useful outputs of a sold-out event. Plan how you’ll use it next time before the current event wraps up.
How to Measure Whether Your Waitlist Is Working
A few simple numbers tell you whether your waitlist is converting interest into attendance. You can calculate most of them from the waiting list grid and your registration reports in Gevme, which export to CSV.
| Metric | How to work it out | What it tells you |
|---|---|---|
| Waitlist size by ticket type | Count of people on each ticket’s waiting list | Which tickets have the most unmet demand |
| Demand ratio | (Registrations + waitlist) divided by capacity | How much bigger the event could be |
| Release claim rate | Released spots claimed divided by spots released | Whether your released spot email and window work |
| Time to claim | Average time between release and registration | Whether your response window is too long or too short |
| Waitlist to attendee rate | Waitlisted people who checked in divided by those who registered | Whether waitlist registrants turn up on the day |
| Next edition conversion | Past waitlisters who register next time divided by those invited | The long-term value of your waitlist |
If your claim rate is low, look at the released spot email first. A vague subject line or a buried Register button is the usual culprit. If people claim spots but then don’t check in, your window may be too long and they’ve lost interest by the time they’re offered a seat.
A Few Terms Worth Knowing
Waitlist (waiting list): a list of people who want to attend after tickets or capacity run out.
Released spot: a seat you offer to someone on the waitlist, usually after a cancellation.
Response window: the time a person has to claim a released spot before it expires.
Event capacity: the maximum number of registrations for the whole event, which overrides individual ticket quantities.
Pro Tip: Put the Deadline Where People Will See It
Most released spots that go unclaimed are lost for one simple reason: people miss the deadline. Put the response window in the first line of the released spot email (“Your spot is held until Friday, 6pm Singapore time”) and repeat it next to the Register button. Then check your claim rate after the first batch. If fewer than half the released spots are claimed, shorten the email, make the deadline more visible and try the next batch before changing anything else.
Frequently Asked Questions
Event waitlist management is the process of collecting details from people who want to attend once an event or ticket type is full, then offering them spots in an organised way when seats open. It covers the waitlist form, the messages people receive, how and when spots are released, and what happens to the list after the event.
In Gevme Registration, a sold-out ticket shows an “Add to waiting list” button, people fill in a short form, and they receive a confirmation email. When a seat opens, you select a person in the waiting list grid and click “Release Ticket”. Gevme then emails them a link to the registration form automatically.
No, releasing a spot is a manual action in Gevme. You choose who receives each released spot and when, and the released spot email goes out automatically once you click “Release Ticket”. This keeps you in control of priorities such as members or returning attendees.
Most organisers use 24 to 72 hours, depending on how close the event is. A month out, 72 hours is reasonable. In the final week, 24 hours keeps seats moving. Gevme’s “Time to respond” setting lets you set this window, and expired offers show your “allocated time is over” message.
Yes. When you enable the waiting list in Gevme, you choose which tickets offer it. Only the selected tickets show the waiting list option, so you can run a waitlist on your main pass while keeping other ticket types closed.
Treat it as your first invitation list for the next edition. Bring those contacts into your next event as invitees, offer them early access, and mention any recordings or follow-up sessions from the event they missed. People who joined a waitlist have already shown strong interest, so they tend to respond well.
Yes. A long waitlist is often the clearest sign that a virtual track is worth adding. In Gevme, hybrid events use one registration page with a physical or digital track, so waitlisted people can register for online access straight away while in-person seats stay capped.
Conclusion: A Full Event Is the Start of Your Next Registration Drive
A sold-out event is good news, but the “Sold Out” banner shouldn’t be the end of the conversation. Set up a waitlist on the tickets that need it, keep the form short, write each message with care, and release spots in small batches with a clear deadline. Then look at the numbers. A long waitlist tells you to add a session, move to a bigger room or open a virtual track, and it hands you a ready list of warm contacts for next year.
Gevme is event management software built by the industry, for the industry, and waitlists are one part of a registration system that also covers ticketing, payments, check-in and reporting in one place. When a waitlisted person registers, they become a full attendee with a ticket, a QR code and a place in your reports, and their data flows through to your event website and onsite check-in. If you want to see how it would work for your next sold-out event, request a demo and the team will walk you through it.