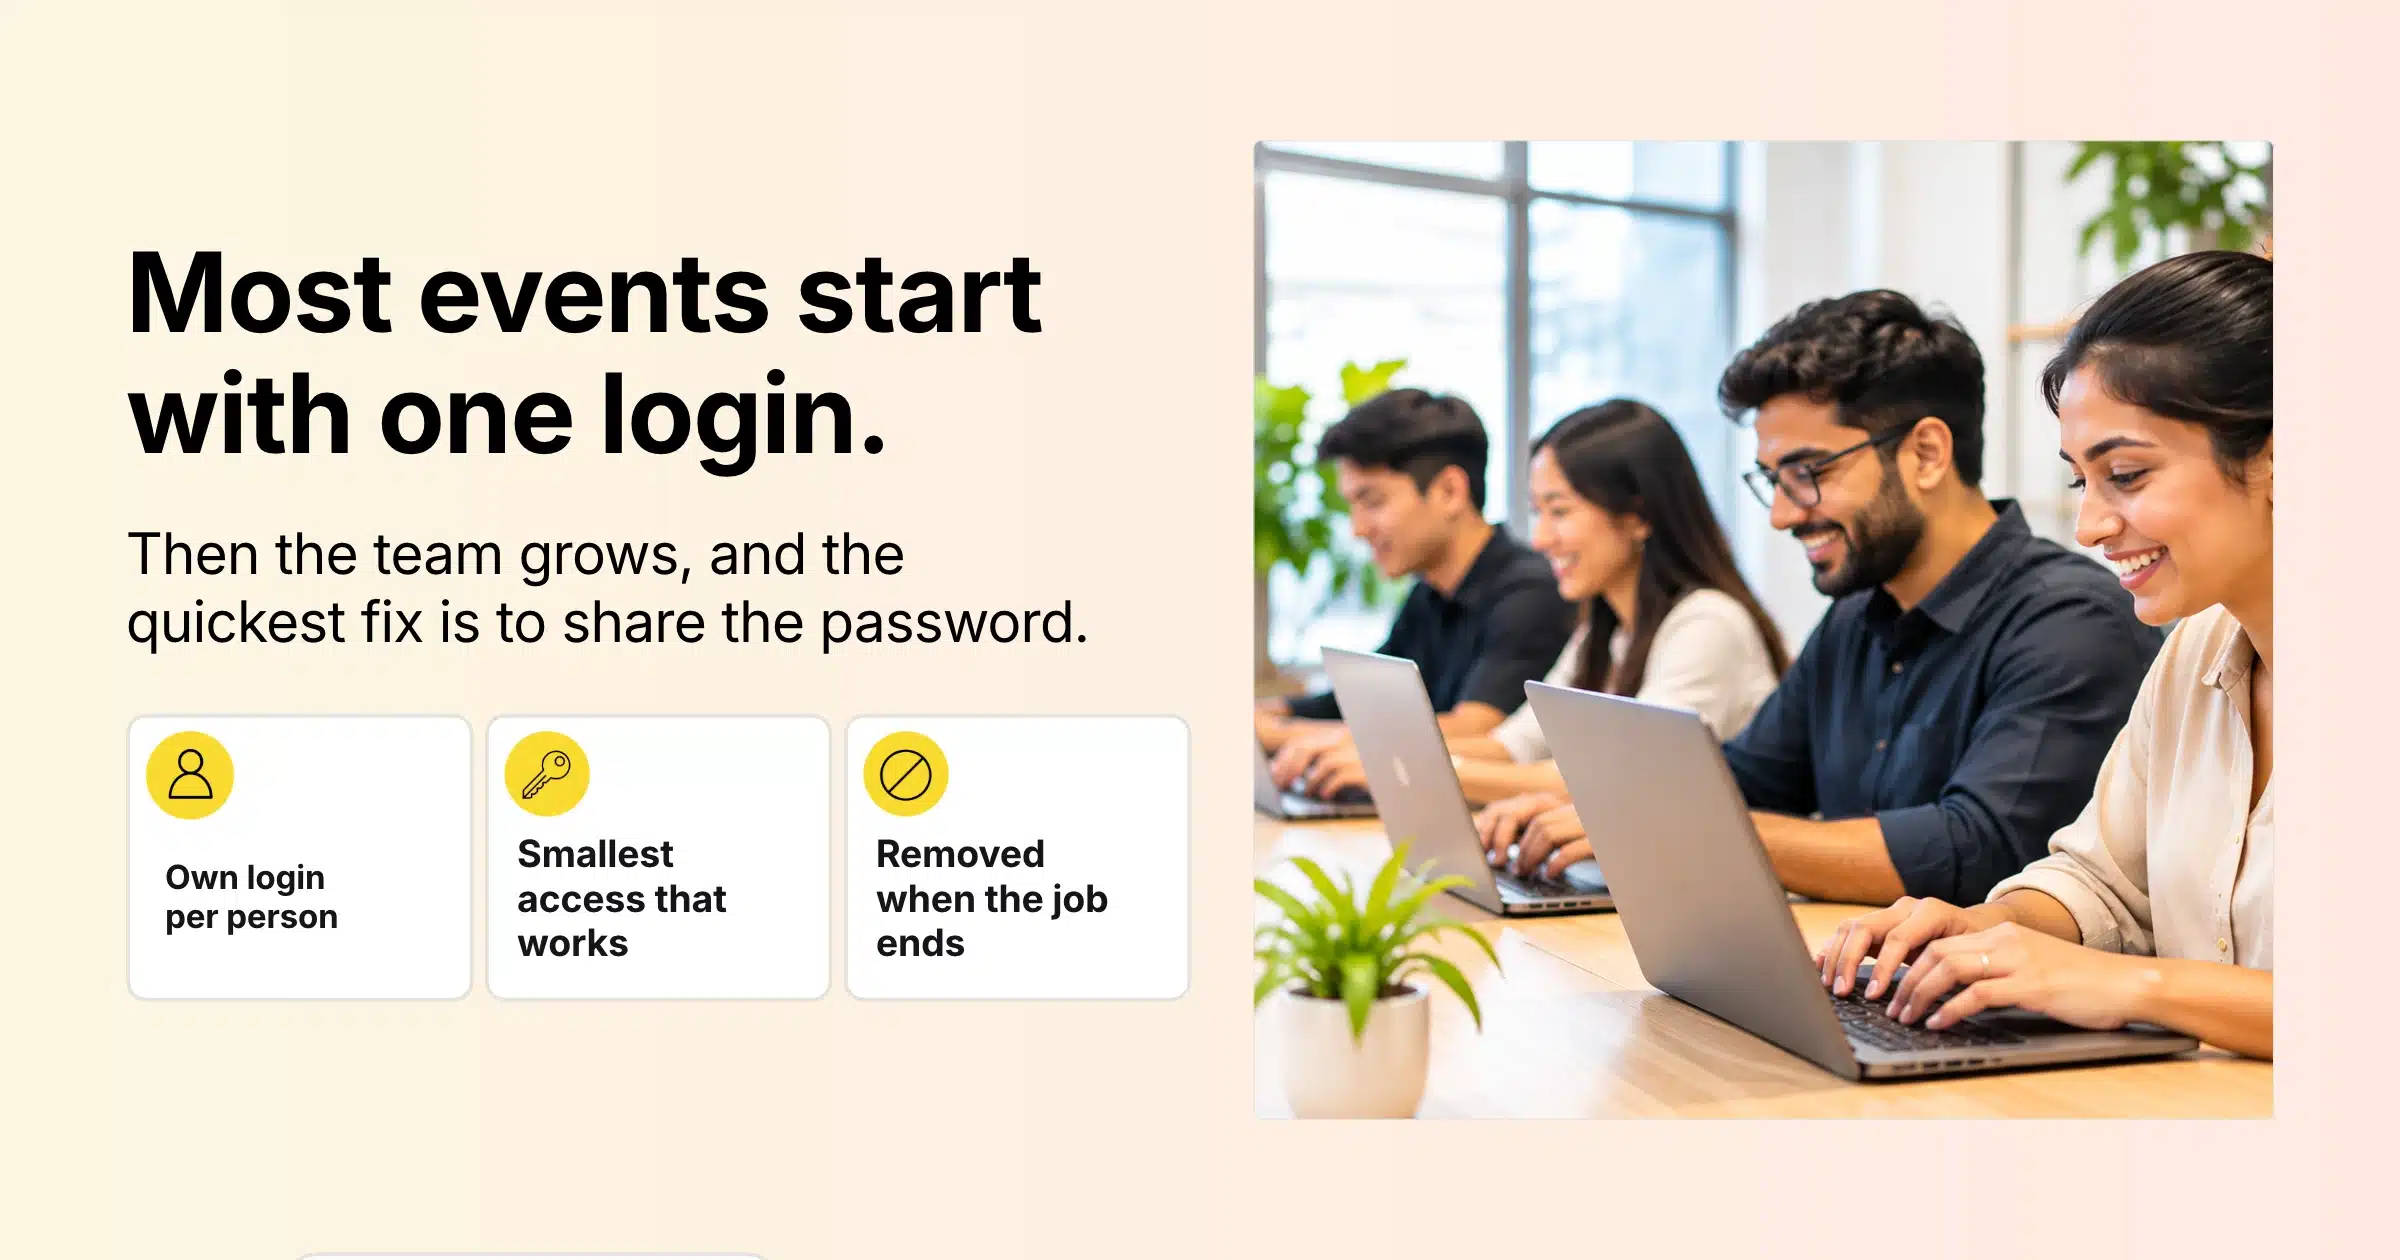
Most events start with one login. Then the team grows. A colleague needs to send the reminder emails, finance wants the payments report, an agency is building the event page, and a temporary crew will run check-in on the day. The quickest fix is to share the main password, and that is where the problems begin: no record of who changed what, attendee data on more laptops than anyone can count, and no easy way to cut off access when the temp crew leaves.
User roles and permissions solve this. A user role is a named set of permissions, such as “Email Marketer” or “Finance”, that decides what a person can see and do in your event software. Permissions are the individual actions inside a role: viewing attendees, editing tickets, exporting reports or approving registrations. Give each team member their own login with the right role, and everyone can do their job without being able to change or download things they shouldn’t.
This guide covers the common roles on an event team, how to decide what each one needs, how to add team members and build roles in Gevme Registration, how access works for event websites, onsite staff and exhibitors, and the security settings worth switching on.
Key Takeaways
- Give every team member their own login with a role, and stop sharing one account across the team.
- Start each person with the smallest set of permissions their job needs, and add more only when they need it.
- In Gevme Registration, manage team access from the Admin Console, where Admin, Event Organizer and Email Marketer are the default roles.
- Create custom roles for jobs like finance or customer support, and choose exactly which actions each role can access, create, edit, export or approve.
- Limit roles to specific events and templates when a person only works on part of your programme.
- Control exports carefully, since every report in Gevme has its own export permission.
- Enforce two-step verification for the organisation, and review the Users Listing and login attempts reports regularly.
Why Shared Logins Cause Problems
Sharing one login feels fast, but it creates four problems that grow with every event.
No accountability. When ten people use the same account, there is no way to tell who changed a ticket price, deleted an order or sent an email to the wrong list.
Too much access. A volunteer who only needs to check people in can also see payment records and export the full attendee list.
Hard to remove access. When a contractor finishes, the only way to lock them out is to change the password and tell everyone else the new one.
Compliance risk. Data protection rules such as GDPR and Singapore’s PDPA expect you to limit who can see personal data. A shared login makes that very hard to show.
Individual logins with roles fix all four. Each action is tied to a person, each person sees only what they need, and access can be removed in seconds without affecting anyone else.
The Common Roles on an Event Team
Every team is different, but most events have some version of these jobs.
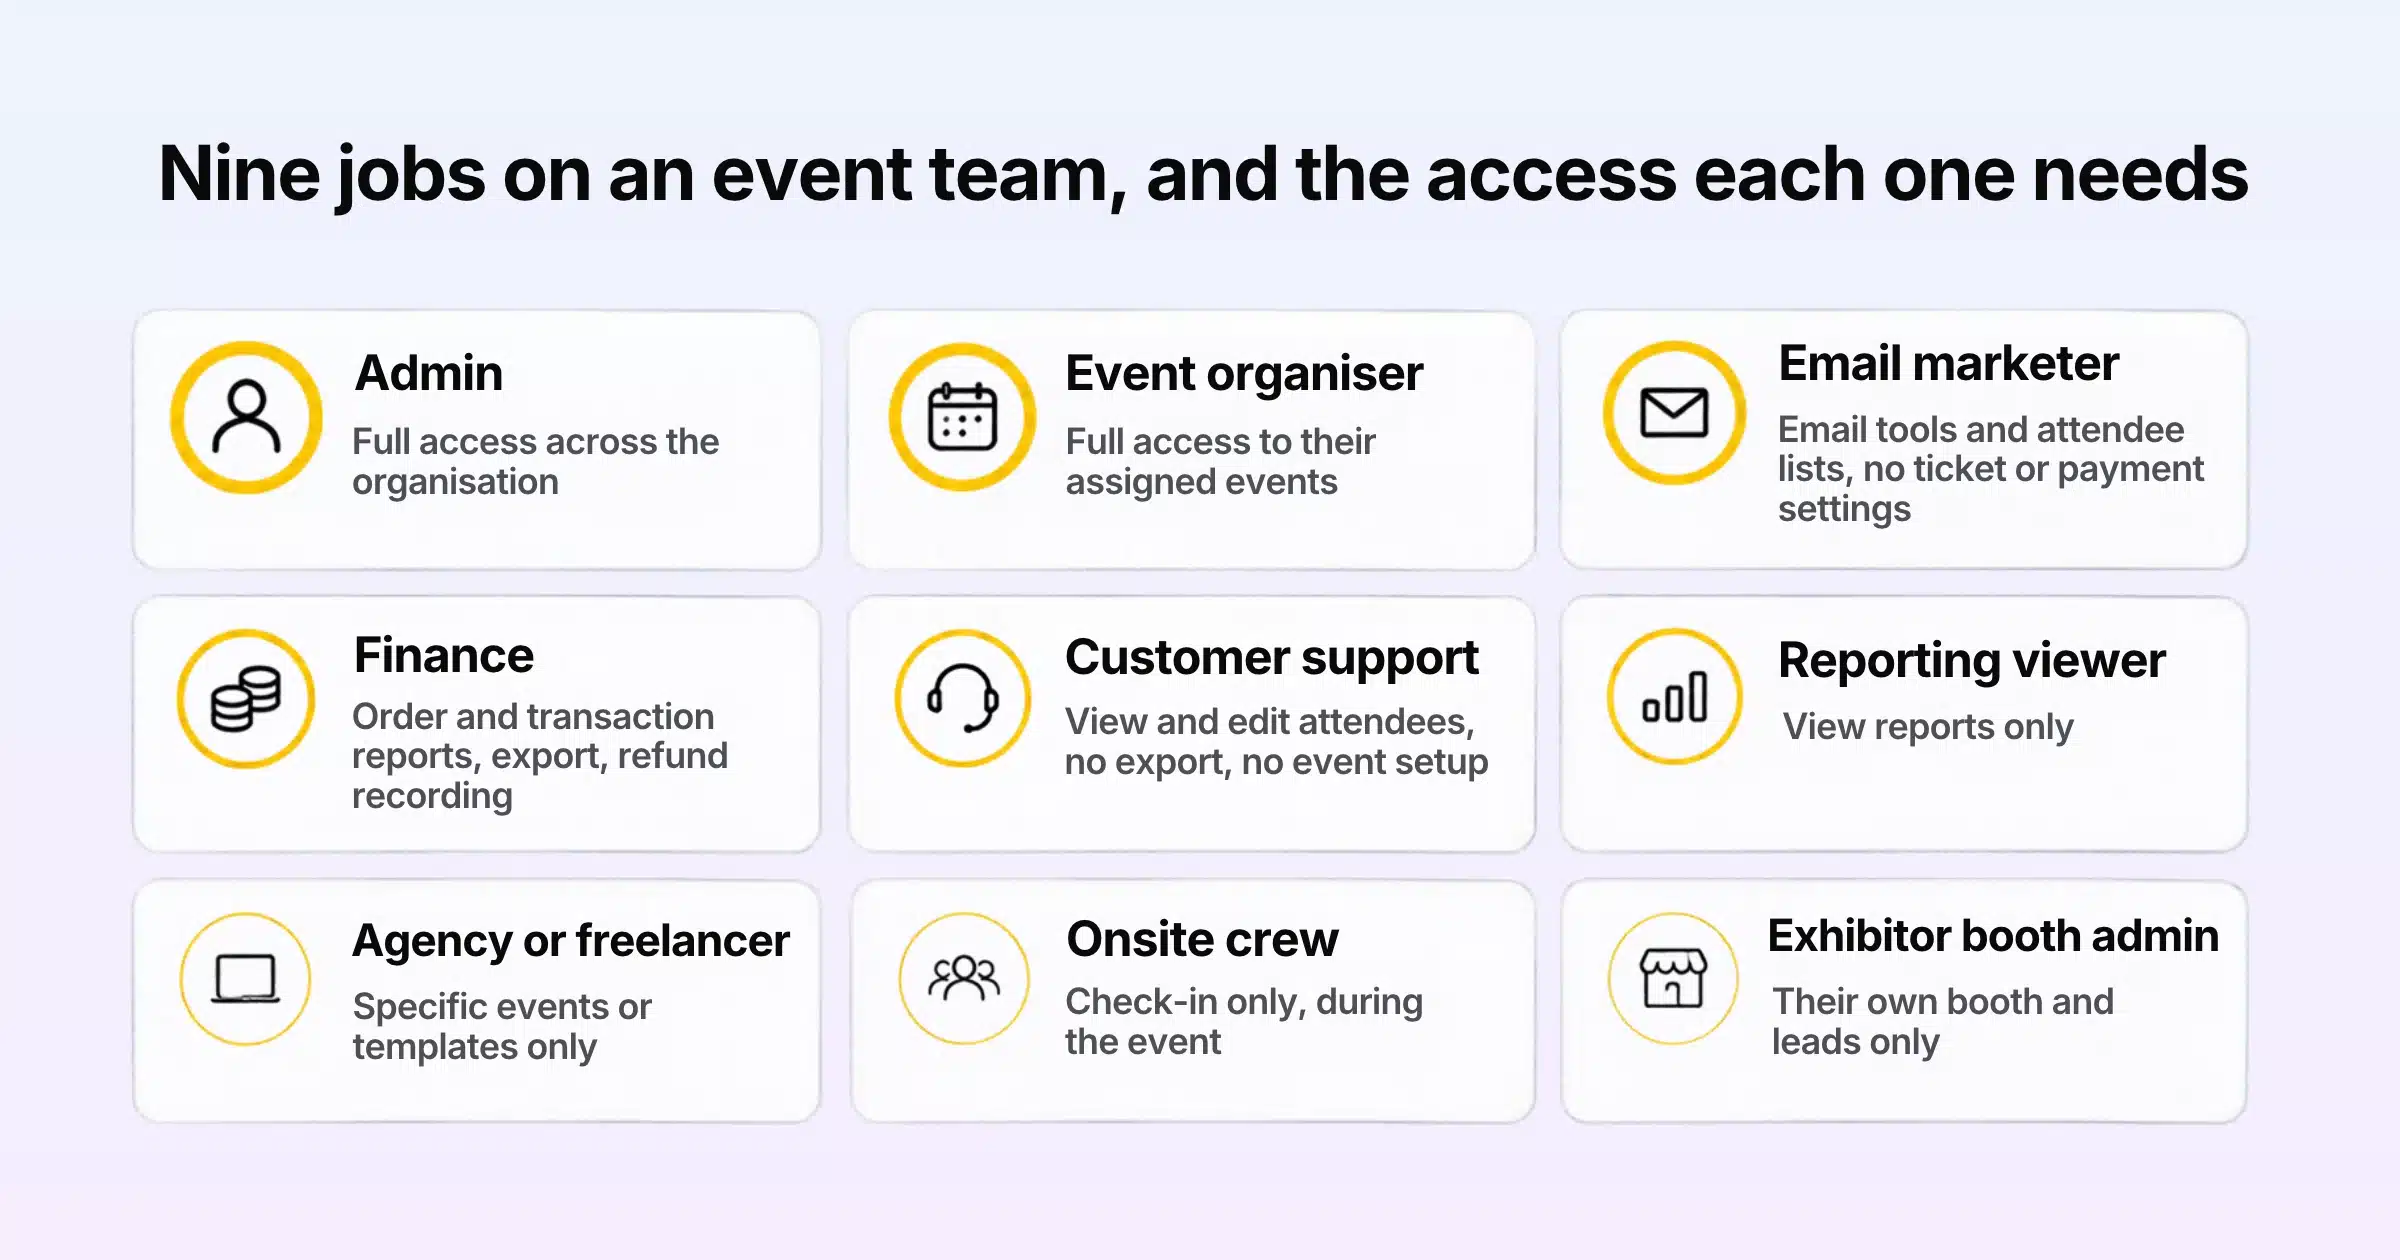
| Role | Typical tasks | Access they usually need |
|---|---|---|
| Admin | Account settings, users, roles, billing, security | Full access across the organisation |
| Event organiser | Building events, tickets, forms, attendee management | Full access to their assigned events |
| Email marketer | Campaigns, templates, lists, email statistics | Email tools and attendee lists, no ticket or payment settings |
| Finance | Orders, transactions, refunds, invoices | Order and transaction reports, export, refund recording |
| Customer support | Answering attendee questions, editing details, resending tickets | View and edit attendees, no export, no event setup |
| Marketing or reporting viewer | Tracking registrations and sources | View reports only |
| Agency or freelancer | Building the event page or registration form | Access to specific events or templates only |
| Onsite crew | Check-in and badge printing on the day | Check-in only, during the event |
Use this table as a starting point. Write down your own team, list what each person does in a normal week, and you will see quickly which roles you need.
How to Decide What Each Role Needs
Start With the Smallest Set
The safest approach is to give each person the least access their job needs, then add more if they hit a wall. In security, this is called the principle of least privilege. It is much easier to grant a missing permission than to discover that someone could export your entire attendee list.
Separate Viewing, Changing and Exporting
Think about three levels for each area of the platform: can the person see it, can they change it, and can they take the data out? A support coordinator might need to see and edit attendee details, but has no reason to export them. A marketing analyst might need to see reports but never change a ticket.
Think About Approvals
Some actions carry real weight, such as approving registrations or recording refunds. Keep those with a small number of people, so there is always a clear owner for each decision.
Limit by Event When You Can
If an agency is building one event, there is no reason for them to see the rest of your programme. Restrict their access to the events and templates they are working on.
Plan for People Leaving
Decide who removes access when a team member, contractor or temporary staffer finishes, and when. Put it on the event wrap-up checklist so it happens every time.
Adding Team Members in Gevme Registration
Gevme Registration manages team access from the Admin Console. You can open it from your user profile menu, or by clicking Collaborating on the event listing page.
Inviting a Team Member
- In the Admin Console, click Invite more people at the top right.
- Choose the type of invitation.
- Enter the person’s email address.
- Choose their user role.
- Choose the events and templates they should work on, if their role does not cover every event.
- Click Send invitation.
The person receives an email invitation and sets up their own login. The number of team members you can add depends on your subscription.
Managing Existing Users
Open the Organisation tab and select Users in the left-hand navigation. From here you can:
- change a user’s role
- add or remove the events and templates they can work on
- suspend a user, which blocks their access straight away without deleting their history
- unsuspend a user when they return
Suspending is the right step when a contractor finishes or a temporary staffer’s work is done. Their past actions stay on record, and you can bring them back for the next event with one click. The collaboration and user management guide shows each screen.
Default Roles and Custom Roles in Gevme
Roles live under User roles in the Admin Console’s left-hand navigation. Gevme Registration comes with three default roles:
| Default role | What it covers | Can it be changed? |
|---|---|---|
| Admin | Full, unrestricted access to the organisation | No, it can’t be edited or deleted |
| Event Organizer | Building and running events | Yes, you can change its permissions |
| Email Marketer | Email campaigns and related tools | Yes, you can change its permissions |
Because the Admin role always has full access, keep it to two or three people. Everyone else should sit in a narrower role.
Creating a Custom Role
- Click Create new user role in the left-hand navigation or the top right corner.
- Enter the role name, such as “Finance” or “Support Desk”.
- Add a short role description, so other admins know what the role is for.
- Under role privileges, choose the permissions this role should have. Permissions are grouped by area, and cover actions such as access, create, edit, export and approve.
- Click Create.
You can then assign the new role when you invite someone, or switch an existing user to it from the Users page.
Export Permissions
Every report in Gevme has its own export permission. You can let a role view the Orders report on screen without letting it download the data. This is one of the most useful controls for data protection, because exported files are where personal data most often leaks: a spreadsheet saved to a personal laptop or forwarded by email.
Permissions Needed for Specific Actions
Some actions in Gevme need a specific permission in the user’s role. For example, transferring a ticket from one attendee to another needs the Manage Attendees permission, and moving an order to a different event needs the Manage Orders permission. Visibility of organisation-wide Global Reports also depends on the user’s role, so you can keep cross-event revenue figures to leadership and finance.
Sample Role Setups for Common Teams
These examples show how the defaults and custom roles fit together.
| Team member | Role | Events and templates | Notes |
|---|---|---|---|
| Head of events | Admin | All | One of two or three admins |
| Event manager | Event Organizer | All | Builds and runs events |
| Marketing executive | Email Marketer | All | Campaigns and lists, no ticket settings |
| Finance officer | Custom: Finance | All | Orders, transactions and refunds, with export |
| Support coordinator | Custom: Support Desk | Current events only | View and edit attendees, no export |
| Agency designer | Custom: Agency Build | One event and its template | Removed after launch |
| Leadership | Custom: Reporting Viewer | All | Reports and Global Reports, view only |
Access Beyond Registration
An event team includes more than the people building registration. Gevme gives each group its own way in.
Event Website and Virtual Venue Team
Your event website, virtual venue and engagement tools run on Gevme Omnichannel. To add someone there, open the organisation dashboard, go to Users, click Invite More Users, enter their details and save. They receive an email invitation, and you can share the Gevme login guide and Gevme Academy courses with them to help them get started. Agencies building your event website or virtual venue get their own login here.
Onsite Check-In Staff
Check-in crews don’t need full accounts. In Gevme, onsite staff are added by name and phone number, log in with a one-time password (OTP) sent by SMS, and can be given timed access that covers only the event days. Temporary staff can scan tickets and print badges at Gevme onsite counters, kiosks or phones, and their access ends by itself when the window closes.
Tech Week Singapore 2024 handled check-in for more than 26,000 attendees across seven parallel events with 30 kiosks and more than 150 mobile devices, which shows why onsite access needs to be quick to set up and quick to remove.
Exhibitors and Booth Staff
Exhibitors manage their own team through the Exhibitor Portal, part of Gevme’s exhibitor and sponsor management. The exhibitor’s booth admin invites booth staff to the Gevme app for lead scanning, can deactivate users if staffing changes, and is the only person who can export the leads. As the organiser, you can view any exhibitor’s portal, while exhibitors only see their own booth and leads.
Multiple Organisations
Larger groups sometimes run separate business units, brands or client accounts. Gevme Registration’s Enterprise plan supports multiple organisations, so each unit keeps its own events, users and data, and a user with access to several organisations can switch between them.
Security Settings Worth Switching On
Two-Step Verification
Two-step verification (2FA) adds a second check at login, so a stolen password alone is not enough to get in. In Gevme Registration, an organisation admin turns it on from the Admin Console: go to Organisations, open Organisation Details, and find the Security section. Admins can either let users opt in, or choose Enforce now so every user must set up 2FA at their next login.
In Gevme Omnichannel, 2FA uses Google Authenticator on top of the email OTP. Admins can make it mandatory for every account in the organisation, and users can mark a computer as trusted for 30 days. Backup codes cover lost phones.
Session Limits
Gevme supports session limits of between 2 and 12 hours, and inactivity timeouts of between 1 and 6 hours. Shorter limits make sense for shared computers at the venue or in a busy office.
Single Sign-On
If your company uses single sign-on, 2FA can also be enforced on SSO logins in Gevme Omnichannel, so your existing identity policies carry across.
Data Protection
Roles and permissions sit on top of platform-level security. Gevme is certified to ISO 27001, ISO 27017 and ISO 27018, holds a SOC 2 Type 2 report, supports GDPR, PDPA and CCPA requirements, encrypts data at rest with AES-256, and never sells attendee data. Personal data can also be anonymised through masking or encryption. Full details are on the Gevme security page.
Reviewing Access Regularly
Access tends to grow over time. People change jobs, agencies finish projects, and temporary roles stay active long after the event. A short review keeps things tidy.
Gevme’s Global Reports include two useful organisation reports:
- Users Listing: each backend user’s first and last name, email, status, roles, events, last login date and last login IP address.
- User Login Attempts: the date and time, user, IP address, page opened and whether access was granted or denied, for each login attempt.
Use them for a monthly check:
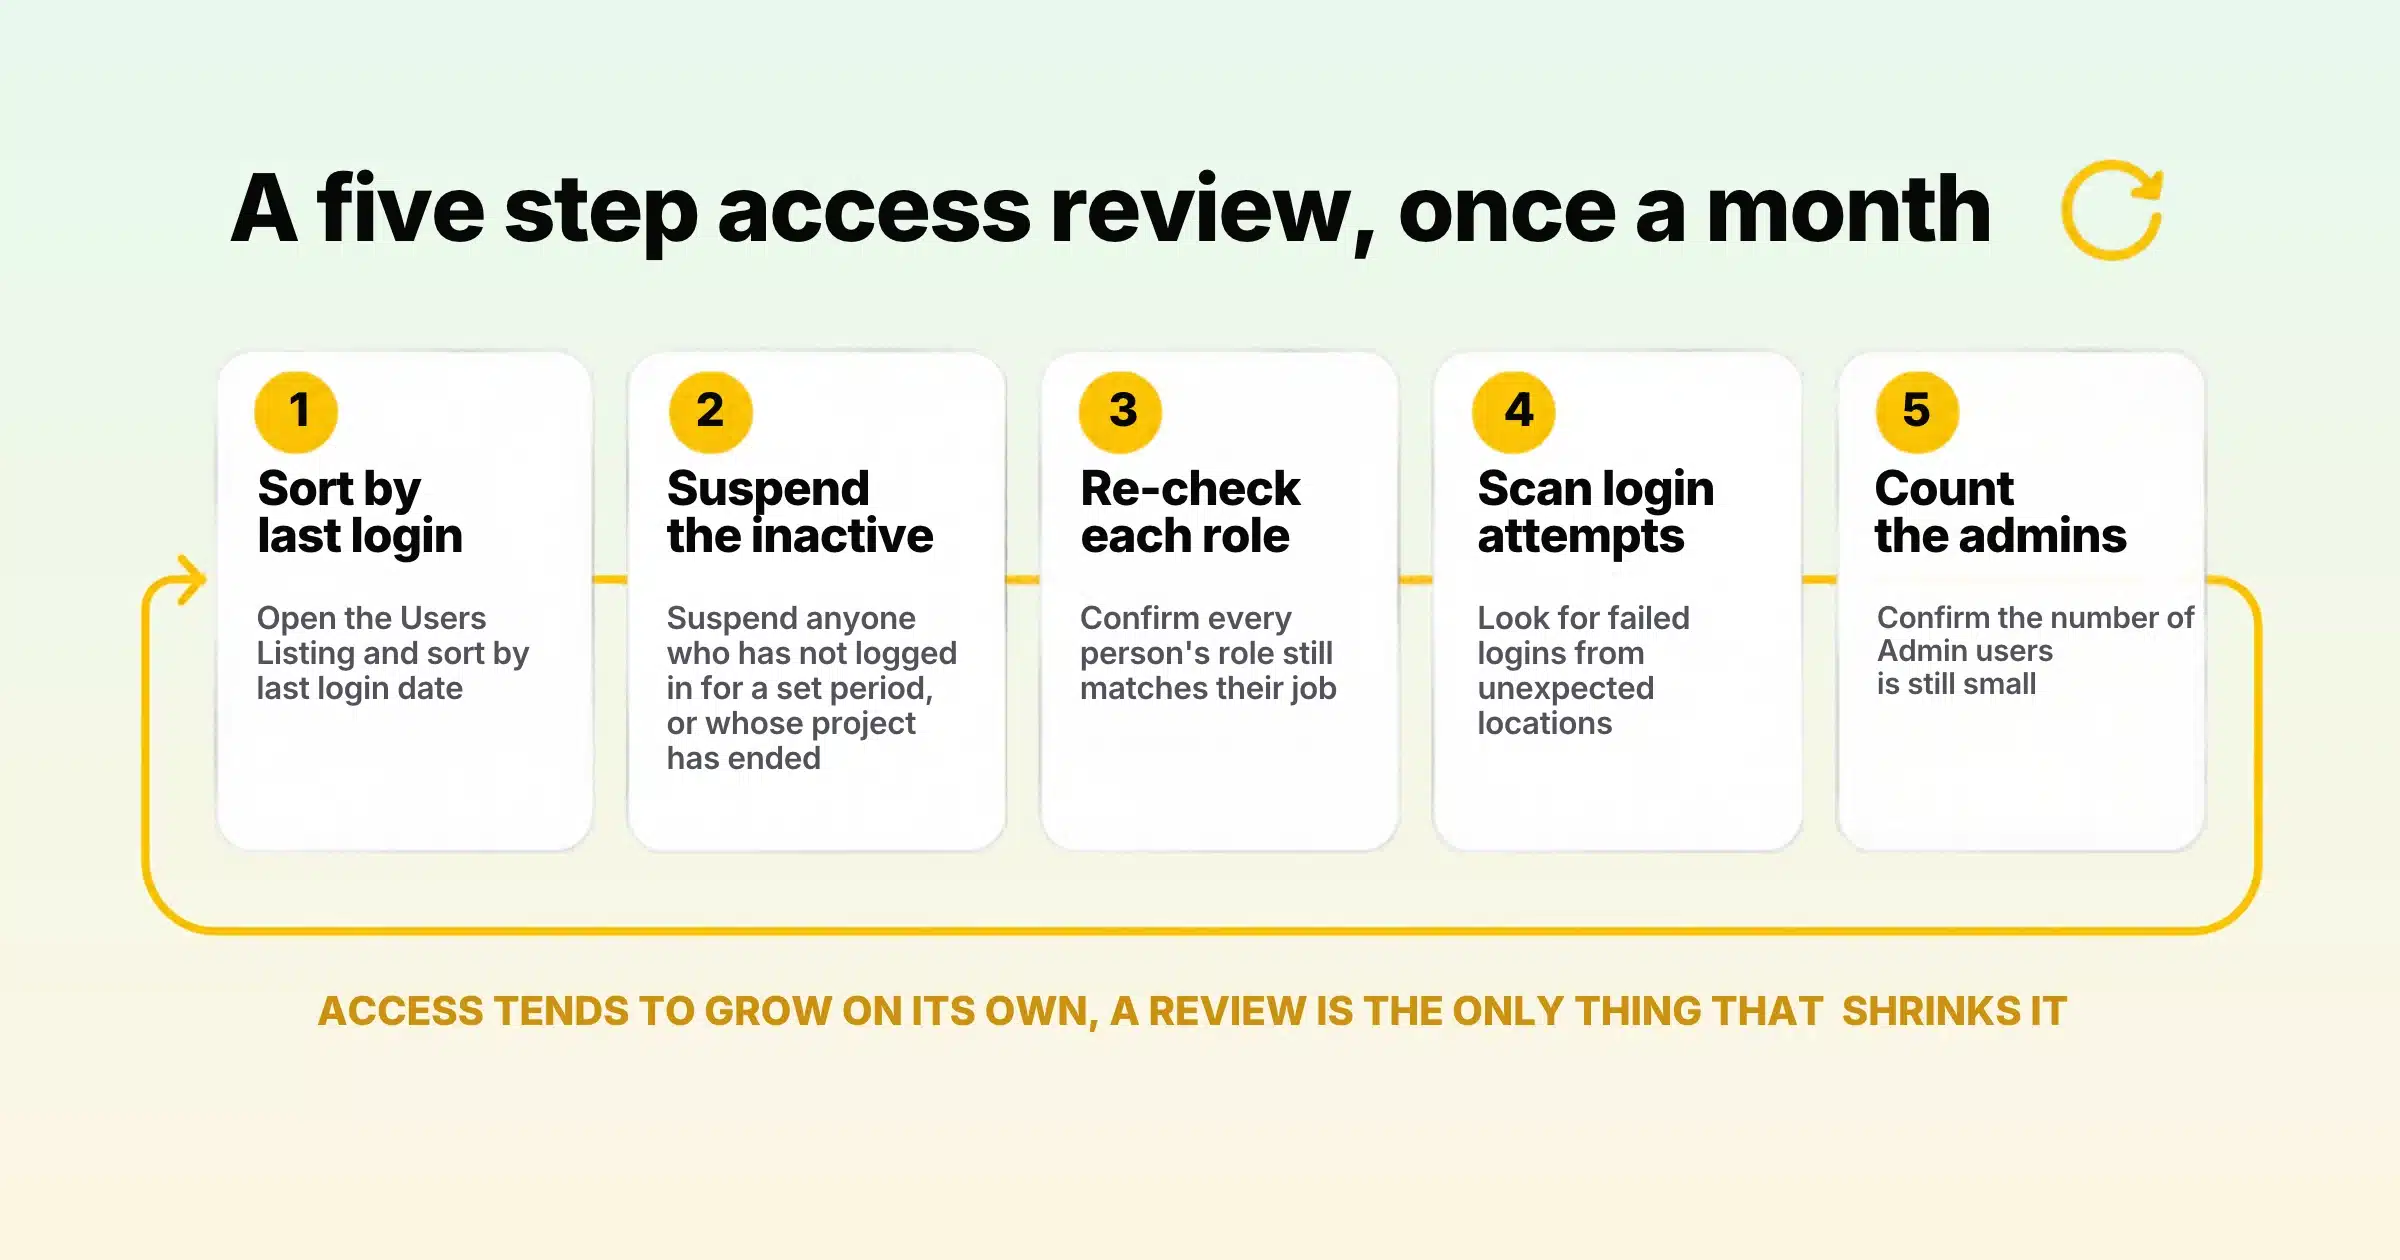
- Open the Users Listing and sort by last login date.
- Suspend anyone who hasn’t logged in for a set period, or whose project has ended.
- Check that each person’s role still matches their job.
- Look through login attempts for failed logins from unexpected locations.
- Confirm the number of Admin users is still small.
Onboarding a New Team Member: A Quick Checklist
When someone joins the team, a few minutes of setup saves weeks of confusion later.
- Pick the role. Match the person to an existing role based on their job. Create a new role only if no current one fits.
- Choose events and templates. Limit access to the events they will work on, unless their job covers your whole programme.
- Send the invitation. Use their work email address, never a personal one, so access ends cleanly if they leave the company.
- Ask them to set up 2FA. If 2FA is enforced, Gevme prompts them at first login. If it is optional, ask them to turn it on.
- Point them to training. Share the relevant Gevme Academy courses and knowledge base articles for their role.
- Note an end date. For contractors and temporary staff, write down when access should be suspended, and add it to the event wrap-up checklist.
Common Mistakes and Quick Fixes
| Mistake | Risk | Fix |
|---|---|---|
| Everyone made an Admin | Anyone can change settings, roles and billing | Keep Admin to two or three people and use narrower roles |
| One shared login for the team | No record of who did what | Invite each person with their own email |
| Export allowed for every role | Personal data copied to many devices | Remove export from roles that only need to view |
| Contractors never removed | Former suppliers keep access to attendee data | Suspend users when their work ends |
| Agencies see every event | More data exposed than the project needs | Restrict roles to specific events and templates |
| 2FA left optional | A stolen password opens the account | Enforce 2FA for the organisation |
| No regular access review | Old accounts pile up | Check the Users Listing report every month |
A Few Terms Worth Knowing
- User role: a named set of permissions you assign to a team member.
- Permission: a single action a role allows, such as viewing, editing, exporting or approving.
- Principle of least privilege: giving each person only the access their job needs.
- Two-step verification (2FA): a second check at login, such as a code from an authenticator app.
Pro Tip
Build your roles around jobs, and never around people. Create roles like “Finance”, “Support Desk” and “Agency Build” once, write a one-line description for each, and assign people to them. When someone new joins, you pick a role and their access is right from day one. When the job changes, you update the role once and everyone in it gets the change.
Frequently Asked Questions
User roles and permissions control what each team member can see and do in your event management software. A role is a named group of permissions, and each permission allows a specific action, such as viewing attendees, editing tickets, exporting reports or approving registrations.
Open the Admin Console, click Invite more people, enter the person’s email address, choose their user role and any specific events or templates, then click Send invitation. They receive an email to set up their own login.
Gevme Registration includes three default roles: Admin, Event Organizer and Email Marketer. Admin has full access and can’t be edited or deleted. You can change the permissions of Event Organizer and Email Marketer, or create your own custom roles.
Yes. If a user’s role does not include access to all events and templates, you assign the specific events and templates they can work on, either when you invite them or later from the Users page.
Open the Admin Console, go to the Organisation tab and select Users, then suspend the person. Suspending blocks their access straight away and keeps their history on record, and you can unsuspend them later if they return.
Yes. Every report in Gevme has its own export permission, so you can give a role access to view reports without allowing it to download the data.
No. Onsite staff in Gevme are added by name and phone number, log in with an SMS one-time password, and can be given timed access that covers only the event days.
Conclusion: The Right Access for Every Person
Clear roles and permissions make a growing event team safer and faster at the same time. Give everyone their own login, start each role with the smallest set of permissions, limit agencies and contractors to the events they work on, control exports, switch on two-step verification, and review access every month. Do that, and you always know who can see your attendee data and who changed what.
Gevme gives you each piece of that setup: default and custom roles in the Admin Console, event and template level access, export permissions on every report, timed access for onsite crews, booth admin control for exhibitors, enforced two-step verification and user activity reports. To see how it would fit your team, request a demo and the Gevme team will walk you through it.